[Review]QiDi PLUS 4 3D Printer In-Depth Review: 65°C Actively Heated Chamber, 370°C Nozzle, 120°C Heated Bed

![[Review]QiDi PLUS 4 3D Printer In-Depth Review: 65°C Actively Heated Chamber, 370°C Nozzle, 120°C Heated Bed](http://au.qidi3d.com/cdn/shop/articles/Snipaste_2024-10-24_11-53-10.png?v=1749626544&width=1600)
👤 Mind:The content of this article is based on a comprehensive review video of the QIDI Plus 4 3D printer released by veteran technology blogger "Aurora Tech" on his YouTube channel, from unboxing to printing tests. This is a detailed 3D printer review and operation guide suitable for consumers who are interested in 3D printing technology or are considering purchasing similar equipment.
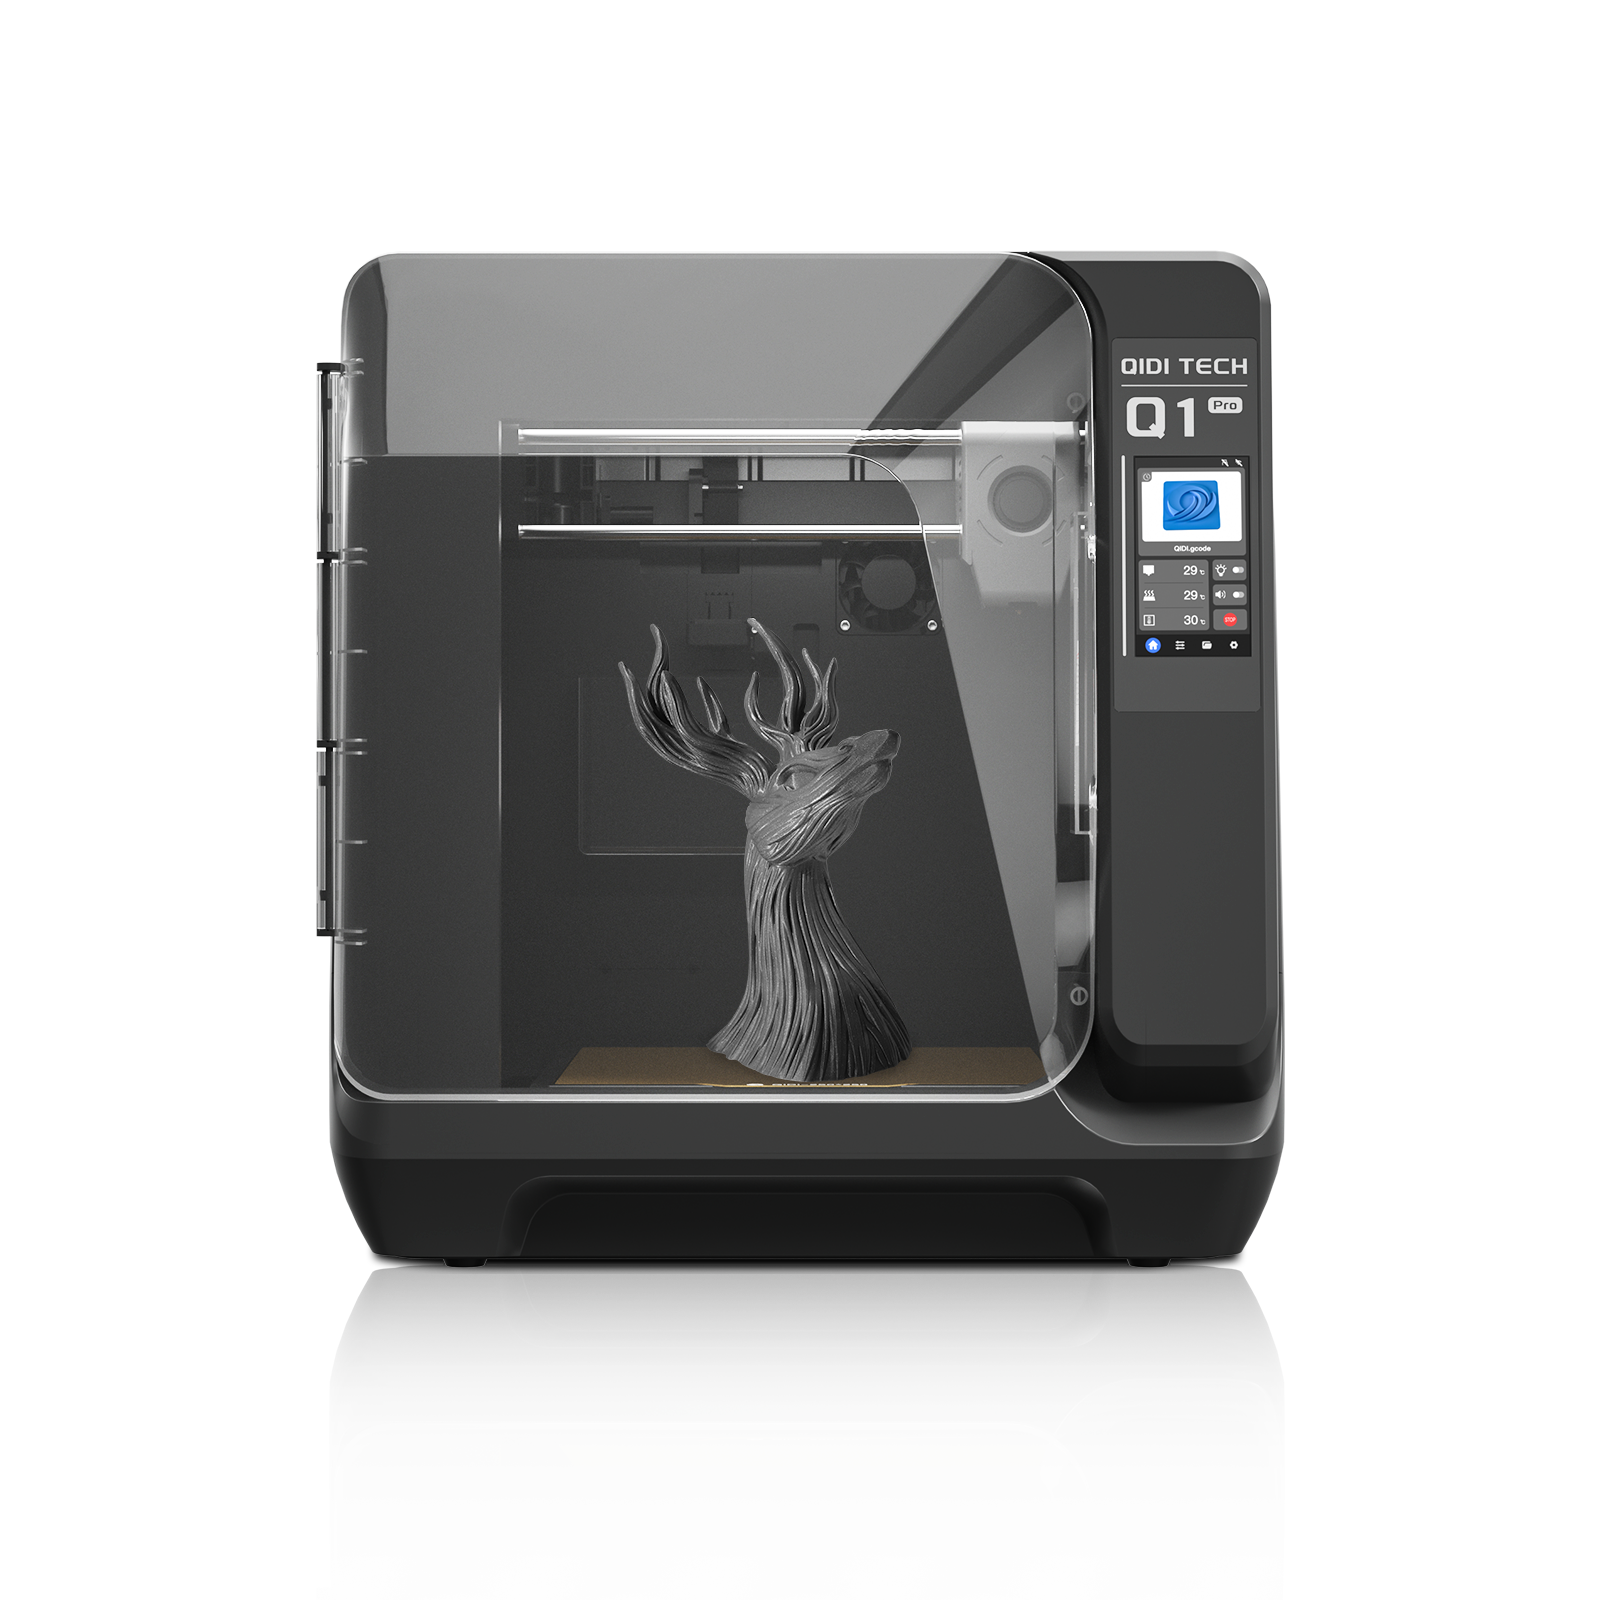
Welcome back to Aora Tech Channel! Today, I will review the QIDI Plus 4. This is the third generation klipper series from QIDI. Last year, they launched the Xmart X-plus3, 3, and X Max 3. Earlier this year, they launched the new Q1 Pro, which has seen some improvements and a new screen UI. The latest Plus 4 is a completely new design with a new appearance. It's priced at $799, so let's take a look at what we can get from this new machine.
Qidi Plus 4 3D Printer Powerful Hardware Specifications
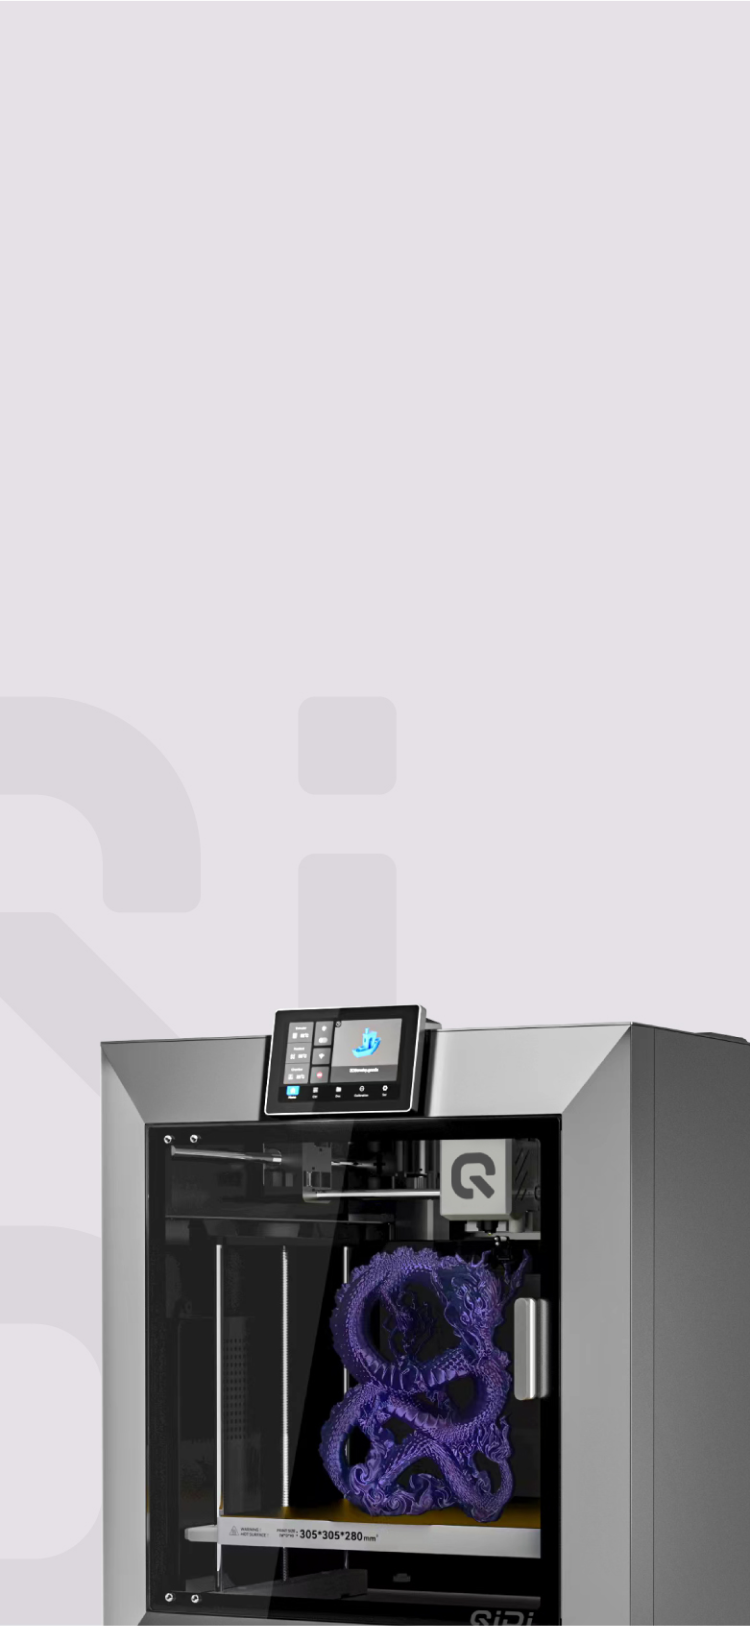
The print volume is 305 x 305 x 280 mm, which is larger than the standard size of the Bambu Labs 256 mm³ print volume but slightly smaller than the X Max 3. It's a CoreXY machine that uses 10 mm linear rods on all axes. The Z-axis is driven by dual stepper motors controlled by independent stepper drivers, so the platform can level itself automatically. The bed leveling uses an inductive sensor, and there's also a piezoelectric sensor inside the print head. It uses the nozzle to probe the bed to set the Z offset automatically.

The hot end is 60 W and uses a new ceramic heat break that claims to provide smoother extrusion and less clogging. There's a filament cutter inside the print head; when changing filament, you can simply let it pump to the corner to trigger the cutter or push it to cut off and change filament easily. The maximum nozzle temperature is 370°C, which allows you to print an even broader range of filament like PPS, which normally requires 350°C or higher.

It has a 5015 blower fan mounted at the bottom of the print head and an auxiliary fan mounted at the side of the machine. There's a filament sensor inside the print head and another filament tangle sensor at the back. The heated bed is a thick 6 mm aluminum one compared to the 3 mm ones on regular 3D printers. The maximum temperature is 120°C, and the print surface is a double-sided textured PI sheet. The heated chamber is also a new design, which includes a circulator fan to provide more even heating with a 400 W power heater that can heat up to 60°C in 5 minutes.

The frame of the machine is metal, the panels are plastic, and the door and the top cover are made of glass. There is a 1080p full HD camera for time-lapse video recording and remote monitoring. It uses klipper firmware and the Fluid web interface, and you can monitor and control the printer directly from their new QIDI Studio, which is akin to Bambu Studio. The motherboard is similar to the MKS Pi, which runs a quad-core 1.5 GHz processor with 1 GB of RAM, but the emmc is 32 GB instead of the standard 8 GB. On their website, QIDI claims they will release their own version of the multiple filament system in 2025.

Unboxing Segment🎁
So far, the hardware specs of this machine seem pretty strong. I would like to thank QIDI for sending us this machine and for sponsoring today's video. And with that, let's get started!
The machine came in one large box, and the total weight is 77 lb. The top layer is the glass top of the enclosure, and the whole machine is inside a bag with two handles for you to easily remove it from the box. Besides the machine, we have a filament holder, a 5-inch touchscreen, some tools, cables, and the user manual. We only need to install the door handle, mount the touchscreen at the center of the top, and the spool holder, which comes with a mount tightened by four screws.

Perform Preliminary Operations on the Bed Leveling
I really like the position of the spool holder, as you can access it from the top. There's a short boating tube to prevent the filament from feeding at a steep angle, and it will guide it to the tangle sensor and run another bowden tube to the extruder. The first time you turn on the machine, it shows a setup wizard, which allows you to select your language. Then, it reminds you to remove all the protective materials and the four screws to secure the bed.

Do Some Additional Setup Manually
Just remove these four screws and the mounts, then it will move up the print bed, and now we can load some filament. The filament will be loaded once it is heated up to the preset temperature. Surprisingly, the setup wizard just ends here. Now we have to go to the tool menu, and there are four items inside: the platform calibration will let you re-level the bed by adjusting the knobs underneath. This is probably unnecessary unless something crazy happened during shipping.

Excellent Print Quality
The consumables drying is to heat up the bed and the chair chamber for you to dry filament, which I will also not use, as it will be more effective to just use a small filament dryer. The things we need to do are auto bed leveling and input shaper calibration. I will start with auto bed leveling. It will first home the machine using the inductive sensor, and then the print head moves to the back of the machine, where it purges more filament and wipes itself on the cleaning pad on the right, which looks like a tiny PEI sheet.

Performance Test Results and Comparison with Other Printers
Then, it will wipe itself again on the silicone brush pad. Next, it will use the nozzle to probe the bed to set the Z offset, followed by a 9x9, 81-point auto bed leveling. The klipper firmware will restart and save the values, then we'll calibrate the input shaper. You can hear the machine vibrating, but there's no other information showing on the screen, so after 7 to 8 minutes, it's done. Once again, the klipper firmware will save the values and restart.

Qidi Plus 4 3D Printer First Test Print
Okay, we can now start our first test print. I will start with the Beni sample G-Code, which is a fast 16-minute one. I will also turn time lapse on and see the quality of the camera. It will start with wiping the nozzle and setting the offset again according to the printing temperature. The print speed of this SPCH is pretty fast. I will let it print a few more layers and test the sound level. When the doors are open without the top cover, the sound level stays around the mid to high 50s. When the door is closed, it's a few dB lower and stays around the low to mid-50s. When fully enclosed with the top cover, it stays at the mid to high 40s most of the time and occasionally reaches 50 when there are rapid movements.
Including about 5 minutes of prep time, the print took 21 minutes. The result is okay; it's not beautiful, but not bad for a 16-minute Beni. I will print another one using the default 0.2 mm layer profile and compare it to the fast one side by side, including prep time. This Beni finishes in 46 minutes. The surface quality of the 46-minute one is better, and the cooling in these areas is also better. From the front, they both look good, and I can't see any cooling issues.

Qidi Plus 4 3D Printer Benchmark Print
Then I will run my benchmark test prints, starting with the number slider. The first layer seems pretty good, and there's enough clearance between the tiles. The print finishes in 2 hours and 35 minutes, which is not too fast compared to the average 2 hours and 15 minutes to 2 and 1/2 hours printing time of this model. The top is no stringing at all. The quality is better than average, and the bottom also looks fine as the print stuck really well on the textured PI sheet. The clearance of the model is good as all tiles can move freely.
Next, I will print the mini honeycomb box that requires a lot of retraction. This print needs the extruder to print a tiny bit of filament, then retract and move to another point. The print finishes in 2 hours and 31 minutes, while the average printing time of the latest klipper machines is between 2 hours and 2 and 1/2 hours. The print quality is really good; all of the honeycomb can be printed without any broken patterns. Compared to other printers, the extruder retraction has improved a lot from the X Max 3. The print quality is better than the K1C and the Cobra 3, and it's in line with the Prusa XL and Bambu Lab X1C.

Try a Tolerance Test
Then I will try my tolerance test to see if the parts fit together, as many users have suggested I should add zero and negative tolerance. I added 0 mm and negative 0.05 mm to this model. Surprisingly, this print finishes in 2 hours and 4 minutes, which is a bit faster than average. There's a little warping at the corners, as the model is longer. After adding the extra zero and negative tolerance, it makes printing without glue a bit challenging. The square side can clear up to 0.075 mm but gets stuck at 0.05 mm. The cylinder side can also clear up to 0.075 mm and gets stuck at 0.05 mm, while the best result of all printers I have ever tested can clear up to 0.05 mm. The tolerance of this machine is better than average but not the best.
Test the Service Quality
Next, I will print the Roo packet from Cru to test the service quality. The print finishes in 4 hours and 44 minutes, while the average time of this model is 4 hours and 15 minutes to 5 hours. The service quality is one of the best I have ever tested. Compared to the K1C, the K1C is a bit faster, but the CHD Plus 4 has a better surface quality. Compared to the P1P, the P1P is also faster, but once again, the surface quality of the CHD Plus 4 wins. Compared to the Q1 Pro, the Q1 Pro is faster again, but the Plus 4 surface quality is much better. Compared to the Prusa XL, Input Shaper firmware, the Plus 4 wins in speed, but the surface quality of both machines is excellent.
Compared to the fastest CoreXY, which is the Sila SP08, the SP08 is much faster, but the print quality is also much worse than the Plus 4. Let's try some different filaments, starting with TPU. I will print a tire with Fiber L GPU sent to me from Prusa. This is a Shore D40 Flex or Shore A85, which is more flexible than regular Shore A95 TPU that's commonly used. I set the print speed to 5 m/s, which is about 622 m/s. The filament is a bit moist, as I opened this a few months ago when I tested the Prusa L. The print finishes in 26 minutes. There is some ringing, and the moist TPU affects the print quality a little.
I then dried it for 6 hours at 56°C and reprinted the model. Here are the results. I think the dry TPU has some improvement, but it's nothing too obvious. Overall, the results are not too bad, and they are all pretty squishy. Then I will print a large desk organizer using PLA. This time, the auto offset is set a bit too low, and the distance between the nozzle and the bed is too close, but it still seems okay. I'm not going to adjust the Z offset using the screen menu and just let it finish. When the second layer is printed, I think the slightly over-squeezed first layer is covered, and it should be fine.

Printing Is Complete and the Layers Are Beautiful
This large print finishes in 5 hours and 47 minutes. The surface is clean, and there's no impact on the bottom at all. There are some PEI residues from the nozzle with a small piece stuck at the bottom, but it's not too bad. Next, I will fully enclose the printer to print a large pencil case. I will print the body with ABS. I set the chamber temperature to 55°C. This time, the first layer is perfect. The print finishes in 3 hours and 13 minutes; there's zero warping and no cracking. I will print another latch with PLA; the result is awesome. This heated chamber makes printing ABS as easy as printing PLA. I actually printed another one with VIL PLA Pro for comparison, and I think they both look great.
Use Nylon Carbon Fiber to Print a Cable Holder
Then, I will use Nylon carbon fiber to print a cable holder. I used an old spool of PA12 CF that QIDI sent me almost a year ago. The print finishes in 47 minutes, and the result is really nice. There are no blobs or imperfections. I will also print another model with Prusa's PC blend filament. This is a knuckle model called MCNU. Using PC filament to print will make it stiff and serve its purpose. I didn't slow it down at all, so you can see the PC filament is printing at almost 200 mm/s most of the time.
Test the First-Layer Quality
This print finishes in 1 hour and 51 minutes. The layers are beautiful, and although the top is not as clean as PLA, that's normal when printing PC filament. Finally, I will print a PLA sheet to test the first-layer quality. I will let it do auto bed leveling before the print starts to get the best result. The first layer speed is 105 mm/s, and the print finishes in 42 minutes. I think it's almost perfect, except that it's a bit too low in this area. The whole sheet can peel off without any separated lines. This is one of the best, if not the best, first layer among all machines I've ever tested, especially on a slightly larger 305 x 305 print surface.
Let's Talk About the Pros and Cons of Qidi Plus 4 3D Printer
Okay, let's talk about the pros and cons of this machine,.
Starting with the Pros
- The entire frame of this 4 is rigid and sturdier than the X3 and the Q1 Pro. The silver metal appearance looks better, and with a larger 5-inch touchscreen, the whole machine has a more premium look.
- The new hot end and extruder work great, handling their retractions on the honeycomb box very well. The extruder pushing force is strong, and the new hot end features an 80 W ceramic heater that heats up quickly compared to most printers, which can only reach nozzle temperatures of up to 300°C. The X4 can heat up to 370°C, allowing it to print a broader range of filaments such as PPS, which typically requires temperatures closer to 350°C.
- The heated chamber is very useful for ABS printing. The ABS pencil box printed perfectly with the chamber, which heats up quickly to 55°C before the print starts. The chamber fan features a new design that circulates air more efficiently while it can also be used as a filament dryer. I think using a small filament dryer would be more effective and energy-saving.
- The Z-axis has been upgraded to dual stepper motors, each controlled by independent stepper drivers, so the platform can level itself automatically.
- In addition to the filament sensor, it also features a tangle sensor, which worked well and actually saved one of my prints. Filament loading is much easier compared to other machines that have the spool at the back; putting the filament at the top is a much more practical choice.
- The heated bed has been upgraded from a standard 3 mm thick aluminum plate to a 6 mm thick solid aluminum bed. This should provide more even heating and ensure a straighter and flatter surface as the bed heats up.
- The auto leveling works very well. It's rare to find a printer with a large print area that delivers such good results.
- The eMMC has been upgraded from 8 GB to 32 GB, providing lots of space for your files and time-lapse videos. The camera resolution and frame rate are also pretty good, outperforming the average camera used in other printers. It can withstand high temperatures, working fine even at a chamber temperature of 65°C.
Now for the cons
- The machine looks like it has an all-metal enclosure, and when I first saw the pictures, I expected it to be aluminum. In reality, it uses plastic panels, which still work, but they just make it feel less premium in my opinion.
- The firmware's linear advance isn't well-tuned, resulting in just average performance on the tolerance model. It clears up to 0.75 mm, but the best machines I've tested can clear up to 0.05 mm.
- The setup wizard is incomplete. When you first turn on the printer, it tells you to remove the protective materials and the screws that lock the bed, followed by loading the filament. However, it abruptly stops, which is kind of confusing. You have to manually navigate to the Tool menu to perform auto bed leveling and input shaping calibration. Then you have to avoid using the platform calibration button, which requires setting the Z offset using paper and adjusting the four screws under the bed. Since the machine automatically sets the Z offset, this button should be hidden under advanced mode to prevent further confusion. Additionally, during input shaping, the screen doesn't tell you which axis is being tested or show the progress. It stays on the same screen for about 8 minutes, which can be unclear for users.
- The touchscreen UI has improved compared to the X3 and even the Q1 Pro, but it still has some issues. For example, the thumbnails on the screen load pretty slowly, and scrolling through multiple pages to find a file is pretty time-consuming. Additionally, there is no sorting option, so the files just appear randomly. Even though there is no sort button, I would at least expect the files to be sorted by upload time by default. Moreover, it always reminds you not to fully enclose the machine when printing PLA, TPU, and other low-temperature filaments. I don't remember how many times I pressed the "don't prompt again" button, but it still shows it randomly.
- 5The new QIDI Studio slicer can't find the printer automatically over the network like the previous QIDI slicer, so you have to manually enter the IP address.

Conclusion🎉
In conclusion, the QIDI Plus 4 is a solid build. The heated chamber makes a noticeable difference, especially when printing ABS, and the print quality of all other materials is decent. The speed is on par with other latest generation CoreXY klipper machines, and all test prints were successful on their first try, except for the number slider. While the first try didn't stick well when the default profile set the bed temperature to 60°C, it worked fine after increasing the temperature to 65°C.
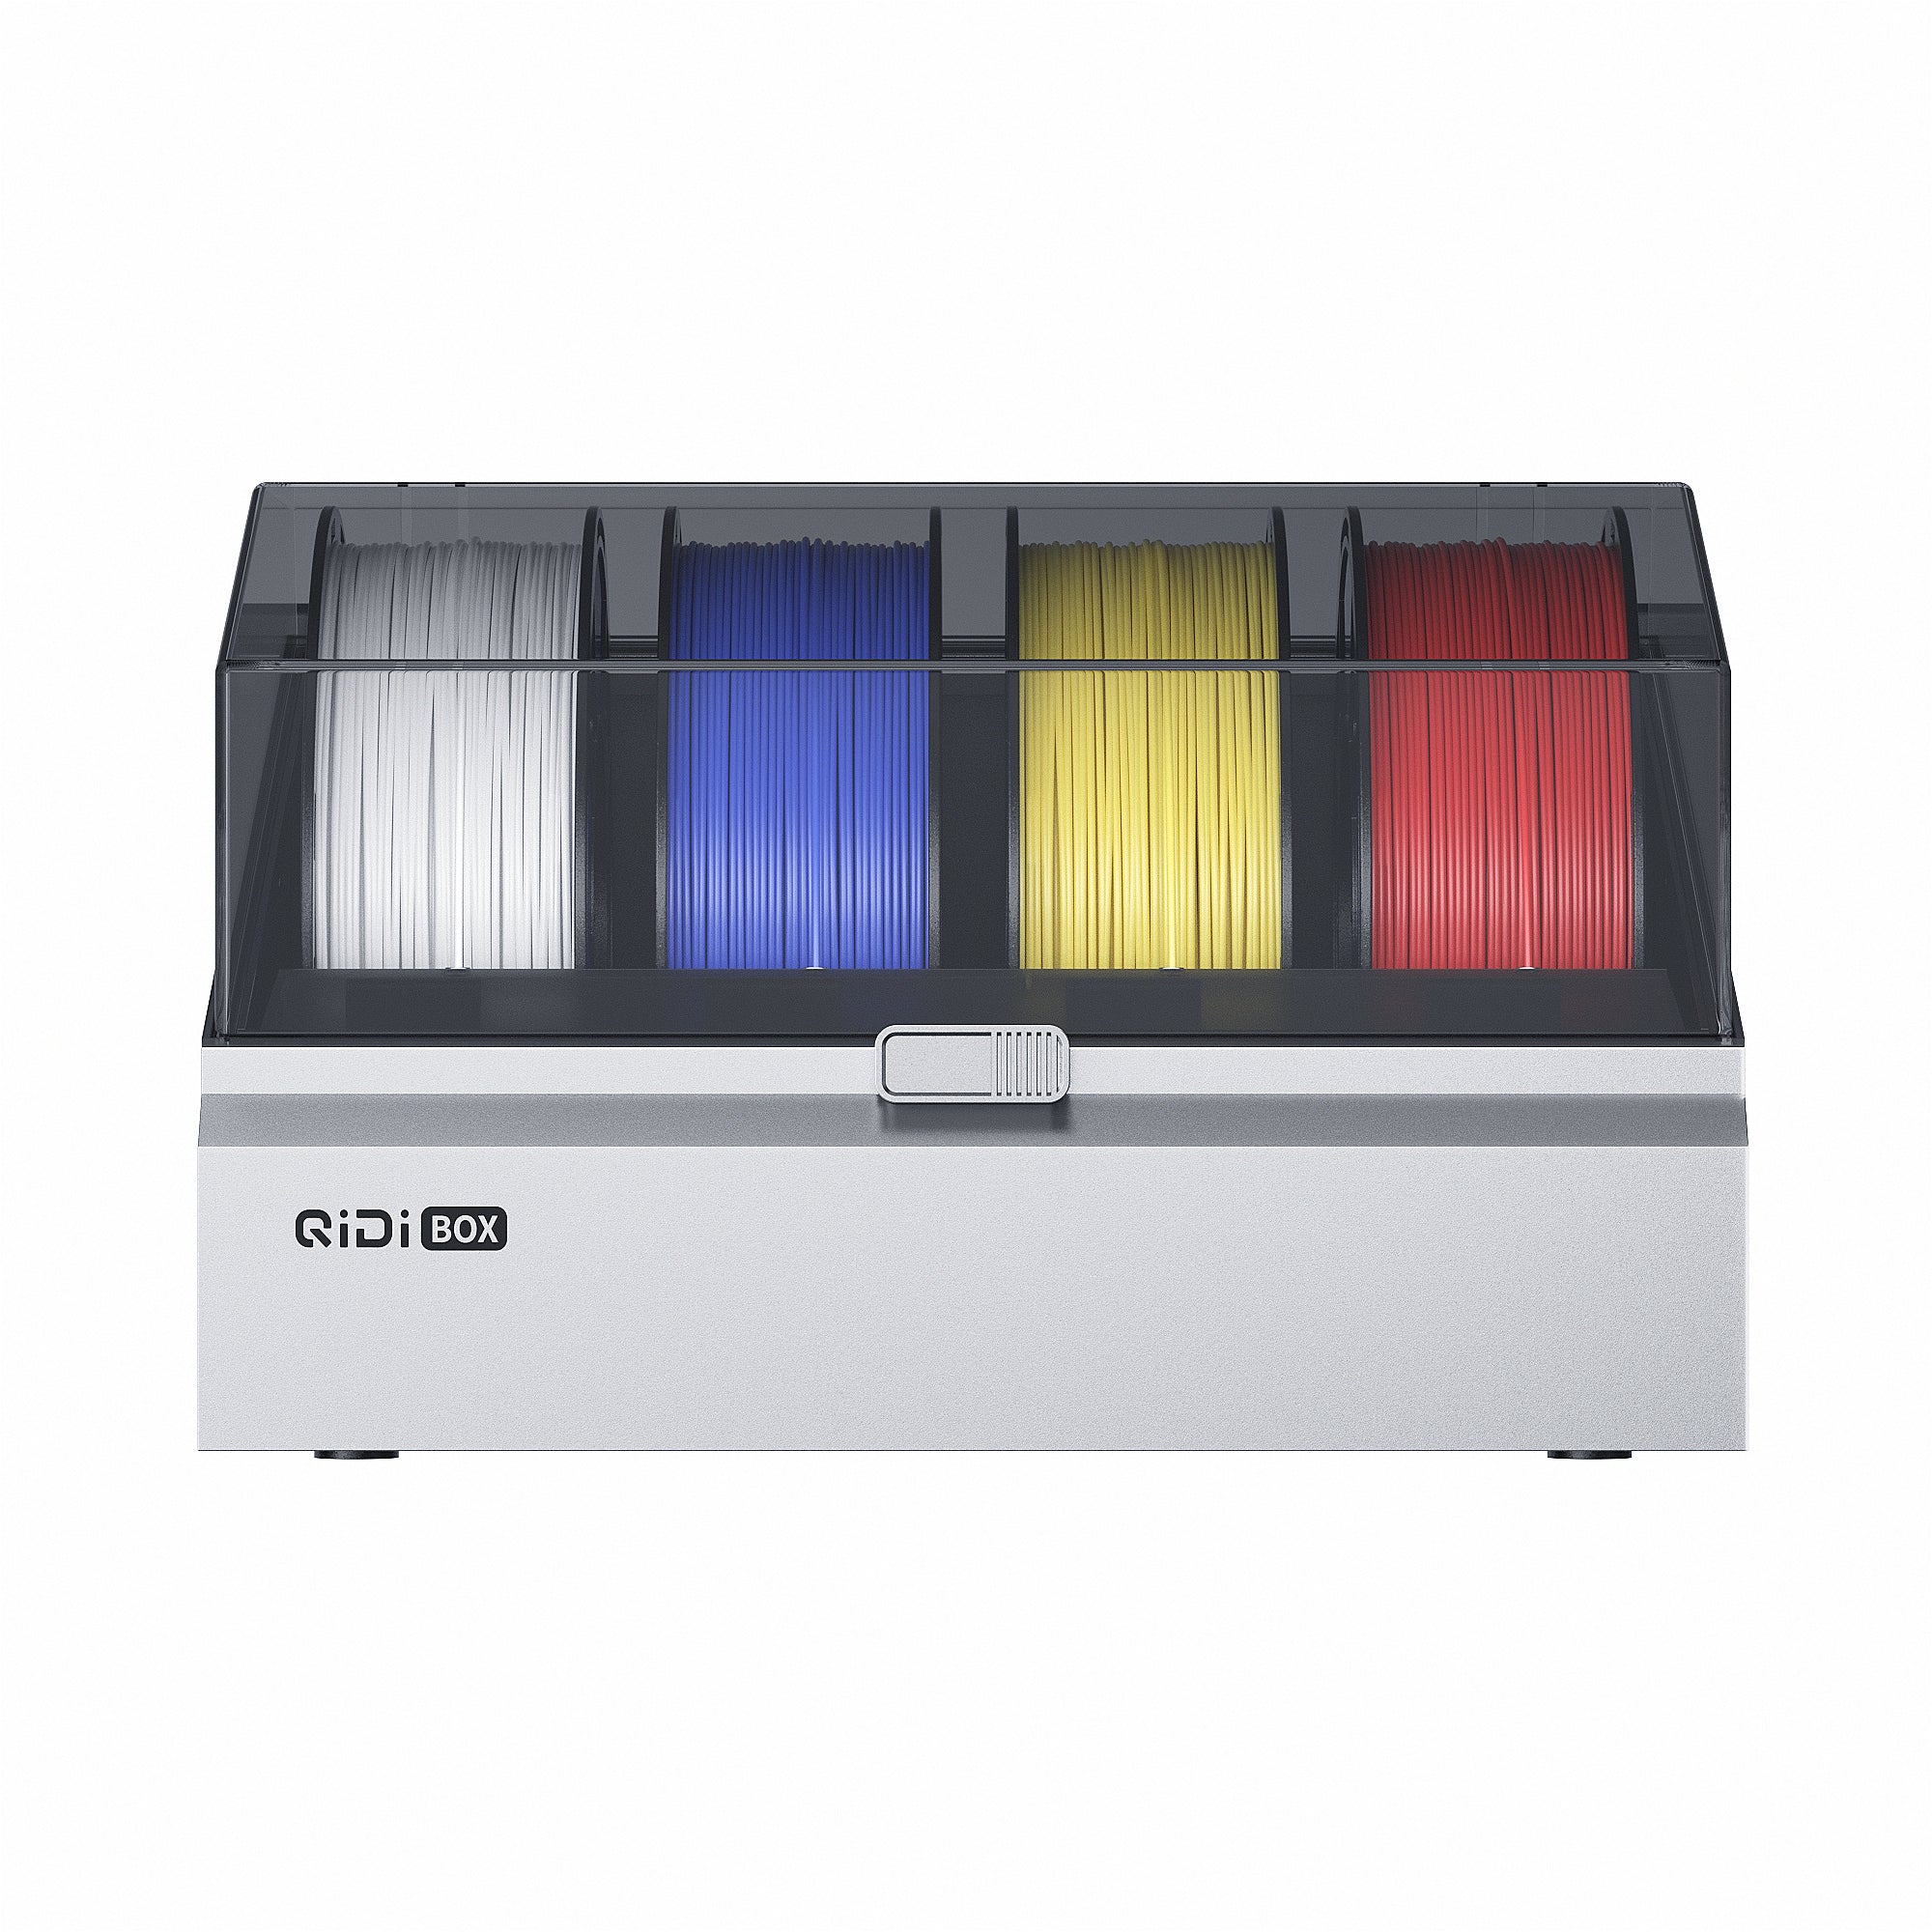
The only drawbacks are the minor issues I mentioned in the cons section, which are mostly related to the firmware and screen UI but are definitely not deal breakers. As this printer is newly released, I do expect more updates from QIDI to address these issues. QIDI also claims they will release a multi-filament system in 2025, which will be a fully enclosed box priced at $228. I'm definitely looking forward to that!
Overall, I am happy with the performance of the X+4, and I will add it to my recommendation list on AoraTechChannel.com. I will award it the title of the best performing fully enclosed midsize high-speed 3D printer. My website tracks the prices and historical price trends of over 150 3D printers, laser engravers, and CNC machines, so you can see if you're getting a good deal by comparing discounts and promotions throughout the year. So be sure to check it out!
That's it for this video. If you found this video helpful, please give it a like and consider subscribing to our channel. Thank you for watching, and I will see you next time!


 Q2
Q2
 Plus 4
 QIDI Box
 Q1 Pro
 X-Max 3
