How to Calibrate Your 3D Printer


Calibrating your 3D printer is a crucial process that directly impacts print quality and machine health. A properly calibrated printer ensures precise layer deposition, accurate detail rendering, and smooth operation of moving parts. This results in stunning, professional-grade prints and minimizes wear and tear on the printer's components, extending its lifespan and saving you from costly repairs or replacements. Neglecting calibration can lead to a host of issues, from minor imperfections to complete print failures, and may even cause long-term damage to your printer.
Pre-Calibration Steps for Your 3D Printer
1. Assemble the Essential Toolkit
To calibrate your 3D printer effectively, you'll need a range of tools and equipment. A basic toolkit should include digital calipers, feeler gauges, a spirit level, pliers, hexagonal keys, screwdrivers, isopropyl alcohol, and cleaning cloths. Always prioritize safety by following the manufacturer's guidelines and wearing protective gear when working with heated components or moving parts.

2. Understand Your Printer's Unique Characteristics
Familiarize yourself with your printer's unique features, firmware, and settings by reviewing the manual and exploring the menu options. Identify key variables that affect calibration, such as steps per millimeter, temperature controls, and motion settings.
3. Establish a Baseline
Print test objects that highlight specific aspects of print quality, such as dimensional accuracy, overhang performance, and bridging capabilities. These initial prints serve as a reference point for evaluating the effectiveness of your calibration adjustments later on.
With your toolkit ready and a solid understanding of your printer's specifications, you're now prepared to begin the calibration process.
Bed Leveling and Surface Preparation for Your 3D Printer
Proper bed leveling and surface preparation are essential for achieving high-quality prints. A level print bed ensures that the first layer of your print adheres correctly, while a clean and well-prepared surface prevents issues like warping and poor adhesion.
1. Manual Bed Leveling
To manually level your print bed, clean the print bed with isopropyl alcohol to remove any dirt or debris. Preheat the print bed to your desired temperature to account for thermal expansion. Use a feeler gauge or a piece of paper to check the distance between the nozzle and the bed at each corner. Adjust the bed leveling screws until you feel slight resistance when moving the gauge or paper between the nozzle and the bed. Repeat the process for all corners and the center of the bed until you achieve a consistent gap.
To ensure an even and flat surface, use a spirit level to check if the print bed is truly flat. If not, consider using a glass bed or a flexible magnetic surface. Check the bed level before each print to ensure consistency, and avoid overtightening the leveling screws, as this can cause the bed to warp.
2. Automatic Bed Leveling (if applicable)
Some 3D printers come equipped with automatic bed leveling sensors or probes that simplify the leveling process. Install the sensor or probe on your printer according to the manufacturer's instructions. Configure your printer's firmware to recognize the sensor or probe and set the appropriate offset values. Initiate the automatic bed leveling procedure through your printer's menu or control software. The printer will probe multiple points across the bed to create a topographical map of the surface and compensate for any unevenness during the printing process.
Even with automatic bed leveling, it's still essential to ensure that the print bed is clean and well-maintained for optimal print quality.

Extruder Calibration for Your 3D Printer
Extruder calibration ensures that your 3D printer extrudes the correct amount of filament and maintains consistent print quality. This process involves setting the proper extruder temperature and adjusting the steps per millimeter (mm) setting in your printer's firmware.
1. Ensuring Proper Extruder Temperature
Different filaments require specific temperature ranges for optimal performance. Refer to the manufacturer's recommendations and print a temperature tower or test objects to find the ideal temperature. Evaluate the print quality at each temperature and fine-tune until you achieve the desired results.
2. Adjusting Extruder Steps per mm
The steps per mm setting determines how much filament your extruder advances for each step of the stepper motor. To calibrate this setting, mark a specific length on your filament, command your printer to extrude the same length, and measure the actual distance extruded. Calculate the correct steps per mm using the formula:
- New steps per mm = (Current steps per mm) × (Expected distance) ÷ (Actual distance)
Update the steps per mm value in your printer's firmware settings and repeat the process to verify the extruder is advancing the correct amount of filament.
Filament Feed Rate and Flow Calibration for Your 3D Printer
Filament feed rate and flow calibration ensures that your 3D printer extrudes the optimal amount of material for consistent print quality and dimensional accuracy. This process involves measuring and adjusting the feed rate and verifying the filament diameter settings in your slicing software.
1. Measuring and Adjusting the Feed Rate
To measure and adjust the feed rate, perform a feed rate test by marking a specific length of filament and extruding it through the printer. Measure the actual length of filament extruded and compare it to the expected length. If there is a discrepancy, adjust the extrusion multiplier in your slicing software or printer firmware to compensate. Repeat the test until the actual and expected lengths match closely.
2. Verifying Filament Diameter Settings
Filament diameter can vary between brands and even between spools of the same material. To ensure accurate extrusion, measure the filament diameter using digital calipers at several points along the spool. Take the average of these measurements and update the filament diameter setting in your slicing software. This will ensure that your printer extrudes the correct amount of material based on the actual filament diameter.
Print Speed and Quality Adjustments for Your 3D Printer
Print speed and quality adjustments are essential for optimizing your 3D printer's performance and achieving the desired balance between print time and overall quality. This process involves determining the maximum effective print speed and fine-tuning retraction settings to minimize common issues like stringing and oozing.
1. Balancing Speed with Quality
To find the optimal balance between print speed and quality, start by determining the maximum effective speed for your printer. This can be done by gradually increasing the print speed in your slicing software while monitoring the print quality. Look for signs of decreased quality, such as ringing, poor layer adhesion, or reduced detail. Once you notice a significant drop in quality, reduce the speed slightly to find the highest speed that still produces acceptable results.
2. Fine-Tuning Retraction Settings
Retraction is the process of pulling the filament back into the nozzle when the printer moves between different parts of the print, helping to reduce stringing and oozing. To find the optimal retraction settings, start with the default values in your slicing software and print a retraction test model. Adjust the retraction distance and speed incrementally until you find the settings that minimize stringing and oozing without causing other issues, such as clogging or incomplete extrusion.
XYZ Axis Calibration for Your 3D Printer
XYZ axis calibration is crucial for ensuring that your 3D printer produces dimensionally accurate parts with smooth, precise movements. This process involves checking and aligning the movement of each axis, adjusting belt tension and lubrication, and fine-tuning the dimensional accuracy through firmware settings.

1. Checking and Aligning Axes Movement
To ensure smooth and accurate motion, start by visually inspecting the movement of each axis. Look for any binding, wobbling, or unevenness in the motion. If you notice any issues, check the belt tension and adjust it as needed. Loose belts can cause slippage and inaccurate positioning, while overly tight belts can lead to excess wear and motor strain. Additionally, ensure that the linear rods and bearings are properly lubricated to minimize friction and wear.
2. Dimensional Accuracy
To check and calibrate the dimensional accuracy of your printer, print a calibration test object with known dimensions along each axis. Measure the printed object using digital calipers and compare the actual dimensions to the expected values. If there are discrepancies, adjust the X, Y, and Z scaling factors in your printer's firmware to compensate. Repeat the process until the printed dimensions match the expected values closely.
Advanced Calibration Techniques for Your 3D Printer
Advanced calibration techniques involve fine-tuning your 3D printer's performance by adjusting acceleration and jerk settings, as well as calibrating multiple extruders if your printer has them. These techniques can help you achieve even higher print quality and precision.
1. Tuning Acceleration and Jerk Settings
Acceleration and jerk settings determine how quickly your printer's motors change speed and direction. These settings can have a significant impact on print quality, particularly when printing at high speeds or with intricate details. To tune these settings, start by understanding their effect on print quality. Higher acceleration and jerk values can lead to faster printing but may cause ringing, overshooting, or other artifacts. Lower values can improve print quality but may result in slower print times. To find the optimal balance, adjust these settings incrementally and print test objects to evaluate the results.
2. Multi-Extruder Calibration (if applicable)
If your 3D printer has multiple extruders, proper calibration is essential for ensuring that the nozzles are aligned and the extrusion rates are synchronized. To align multiple nozzles, print a calibration object that requires each nozzle to print a specific pattern. Measure the distance between the patterns and adjust the nozzle offsets in your firmware or slicing software accordingly. To synchronize extrusion rates, print a multi-color test object and adjust the flow rates for each extruder until the colors blend seamlessly without over- or under-extrusion.
Troubleshooting Common Calibration Issues with Your 3D Printer
Even after calibrating your 3D printer, you may encounter some common issues that can affect print quality. Two of the most frequent problems are adhesion issues and inaccurate prints.
1. Dealing with Adhesion Problems
First layer adhesion is crucial for a successful print. If you're experiencing adhesion problems, start by ensuring that your print bed is clean and level. Adjust the nozzle height to ensure that it's close enough to the bed for the first layer to adhere properly. If the issue persists, consider using a bed adhesive, such as glue stick or hairspray, to improve adhesion. You can also experiment with different bed temperatures and initial layer heights to find the optimal settings for your specific filament and printer combination.
2. Addressing Inaccurate Prints
If your prints are consistently coming out with dimensional inaccuracies, there are several potential causes to investigate. First, double-check that your printer's XYZ axes are properly calibrated and that your belts are tensioned correctly. Next, verify that your filament diameter settings are accurate in your slicing software. If the issue persists, try printing a calibration cube and measuring it to determine which axis is causing the inaccuracy. Adjust the corresponding axis steps per mm in your firmware until the printed dimensions match the expected values.
Maintaining Calibration Over Time for Your 3D Printer
Calibrating your 3D printer is not a one-time task. To ensure consistent performance and print quality, it's essential to maintain calibration over time. This involves establishing a regular calibration schedule and keeping a log of your calibration changes and results.
1. Establishing a Regular Calibration Schedule
The frequency of calibration depends on factors such as how often you use your printer, the materials you print with, and the level of precision required for your projects. As a general rule, it's a good idea to perform a basic calibration check every few months or after every 100-200 hours of printing. If you notice any print quality issues or change materials frequently, you may need to calibrate more often. Establish a calibration schedule that works for your specific needs and stick to it to maintain optimal printer performance.
2. Keeping a Calibration Log
Keeping a detailed log of your calibration changes and results can help you track your printer's performance over time and make informed decisions about future calibration adjustments. Create a spreadsheet or use a notebook to record the date, calibration steps performed, and the resulting print quality. Include any relevant settings, such as temperatures, speeds, and firmware adjustments. By documenting your calibration journey, you'll be able to refer back to previous successful settings and identify trends or recurring issues more easily.
Elevate Your 3D Printing Experience
By mastering the art of 3D printer calibration, you can take your printing experience to new heights. From bed leveling and extruder calibration to fine-tuning print speed and quality, each step of the process contributes to the overall performance and longevity of your machine. Regularly maintaining calibration and keeping a detailed log will ensure consistent, high-quality results over time. Embrace the challenge of calibration, and you'll be rewarded with stunning prints that showcase your creativity and attention to detail. With a well-calibrated 3D printer, the possibilities are endless, and your projects will be limited only by your imagination.


 Q2
Q2
 Plus 4
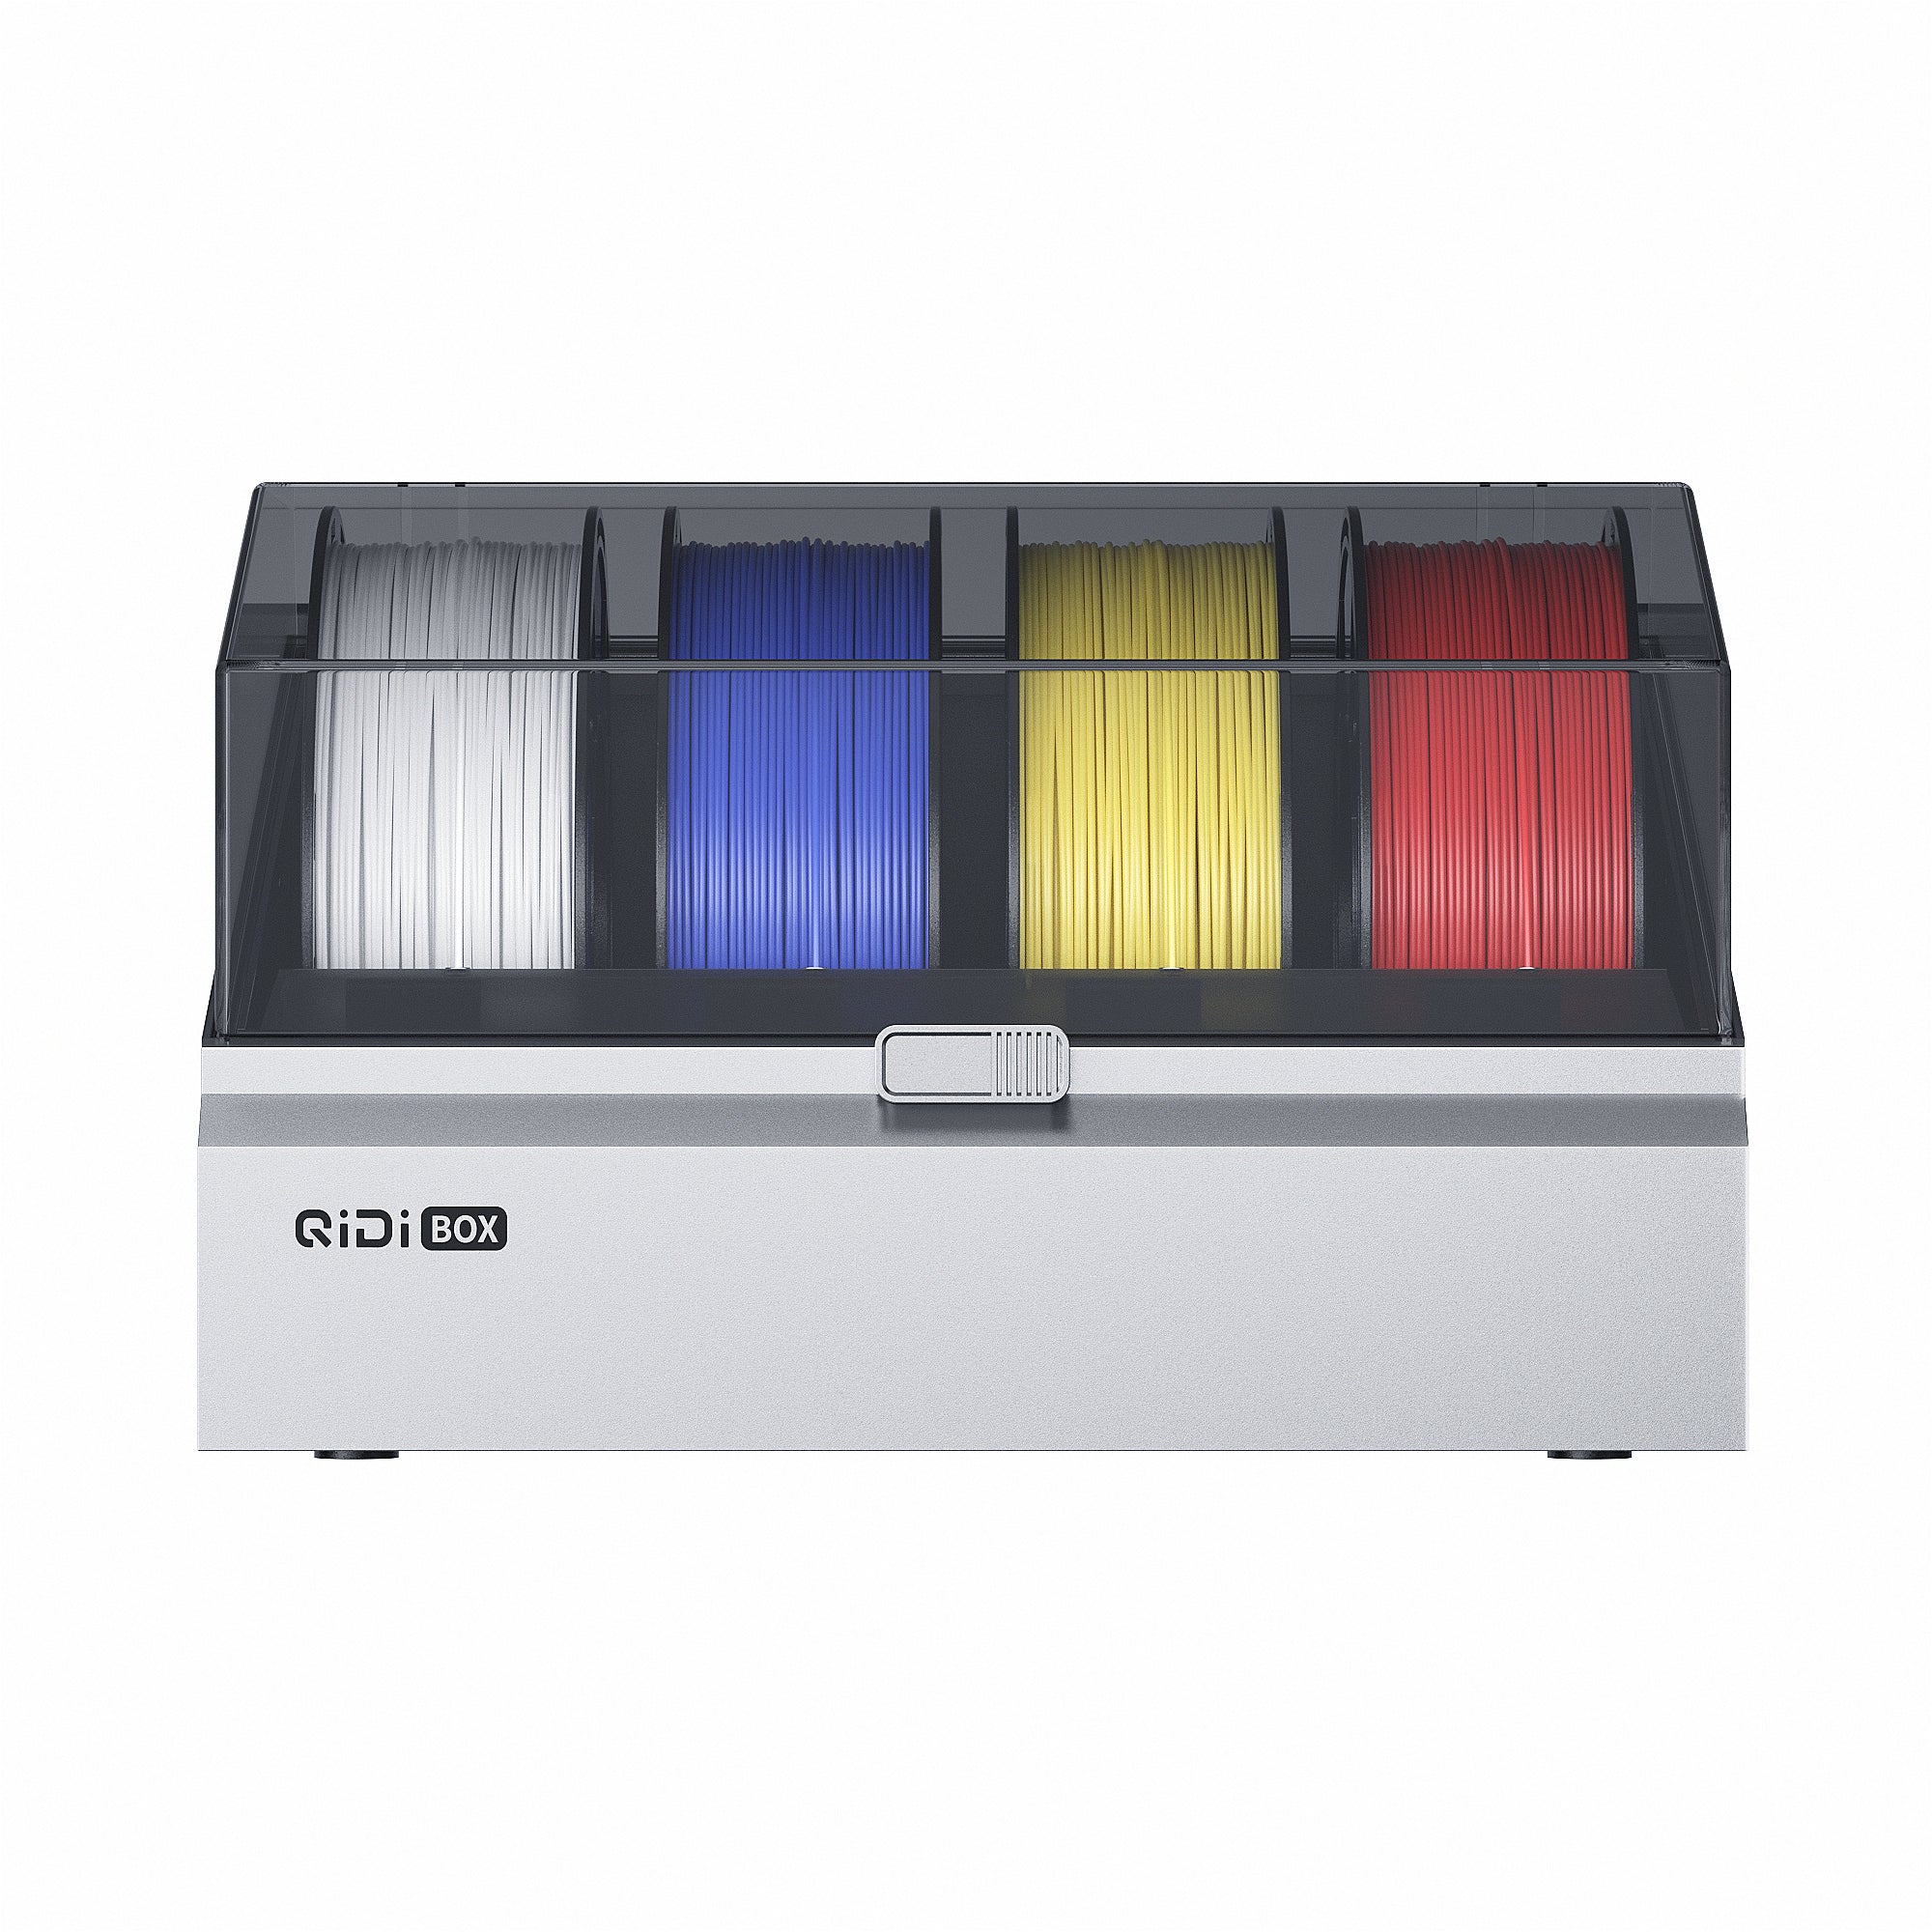 QIDI Box
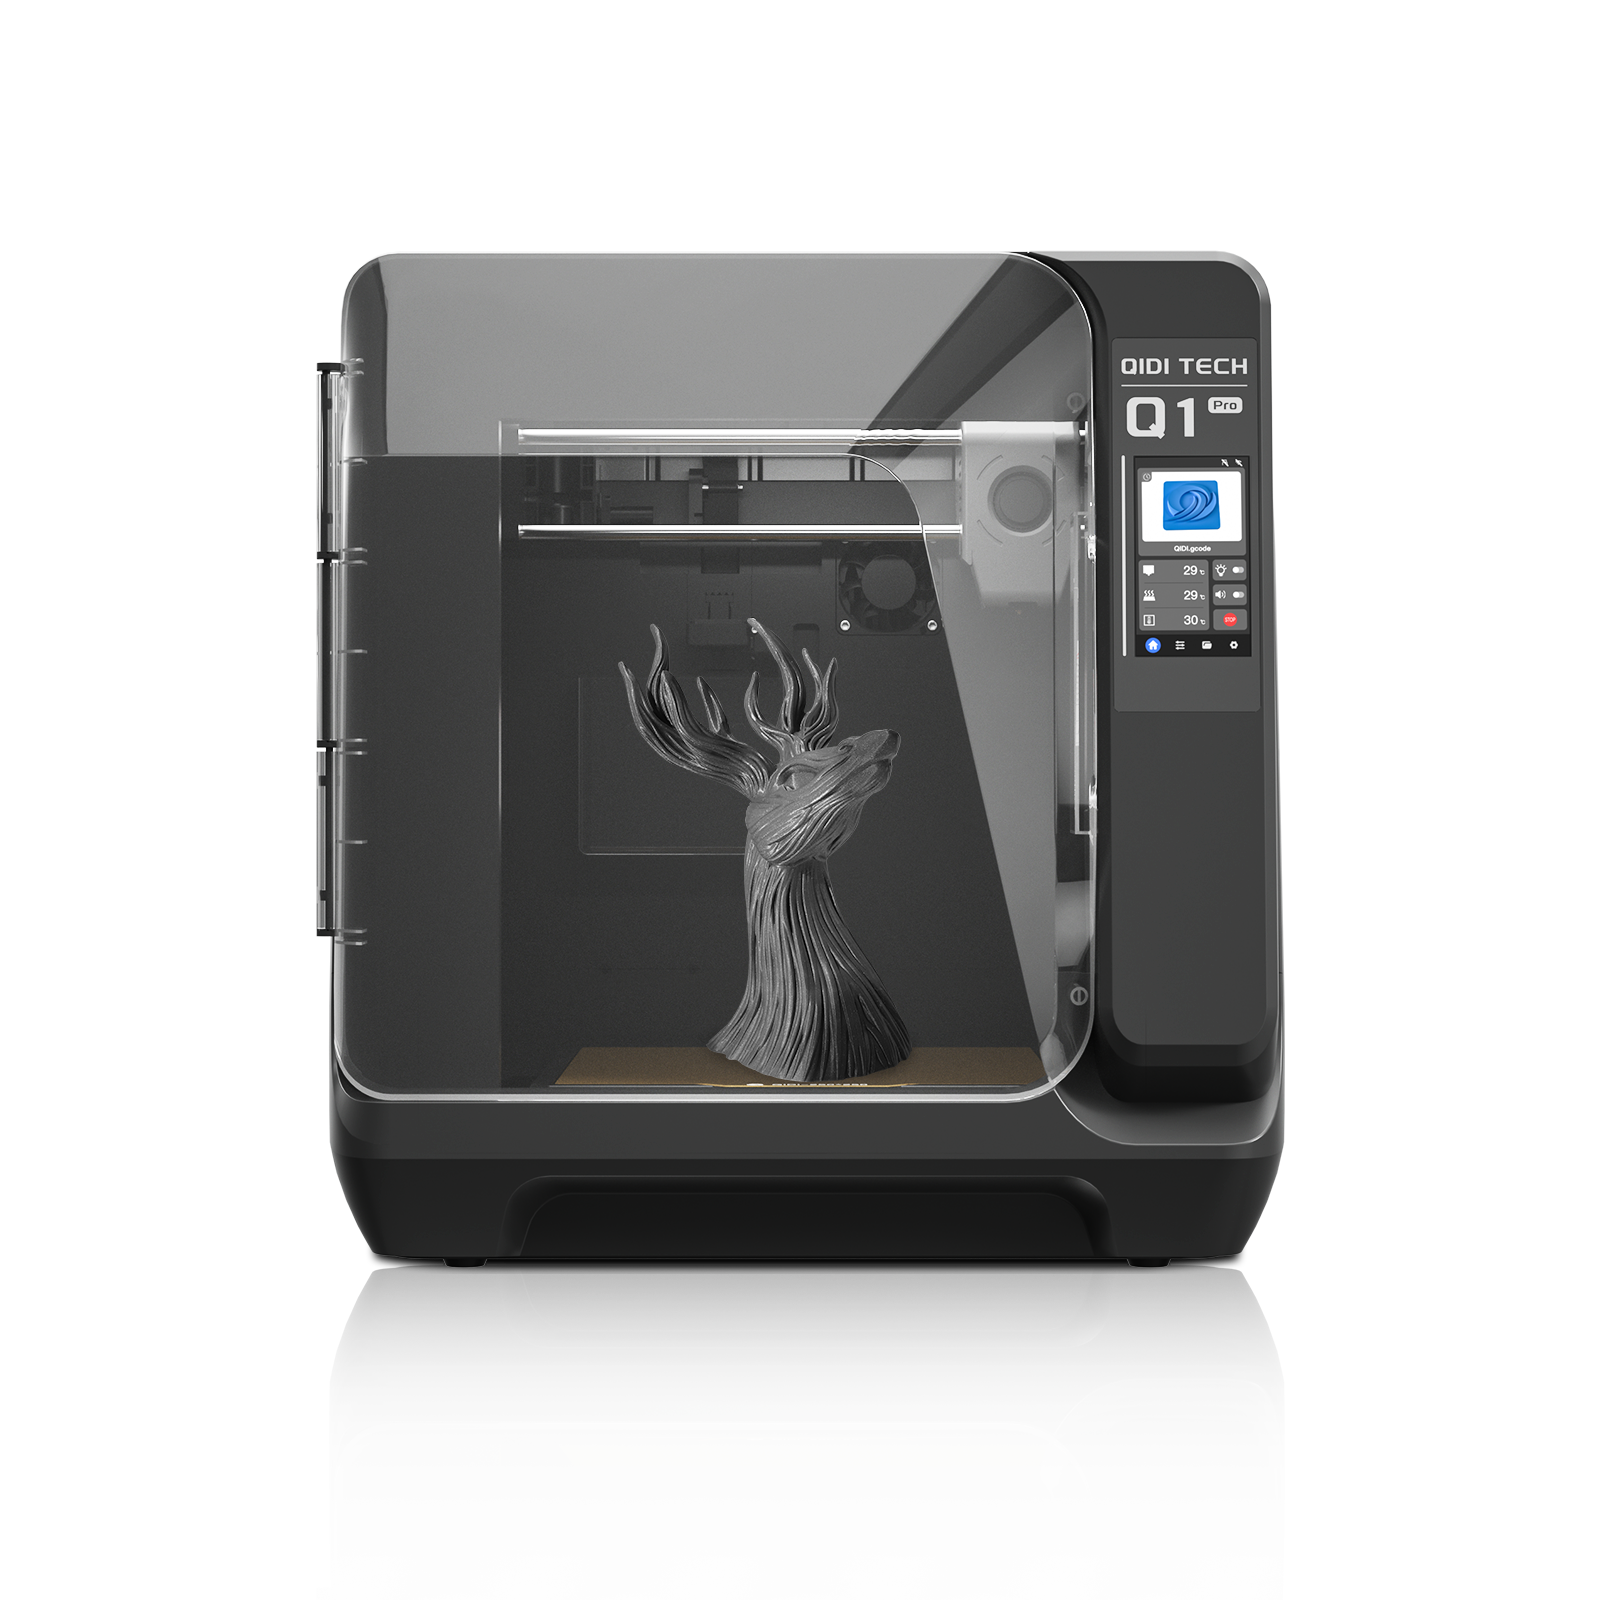 Q1 Pro
 X-Max 3
