How to Fix 3D Printing First Layer Problems for a Perfect Start

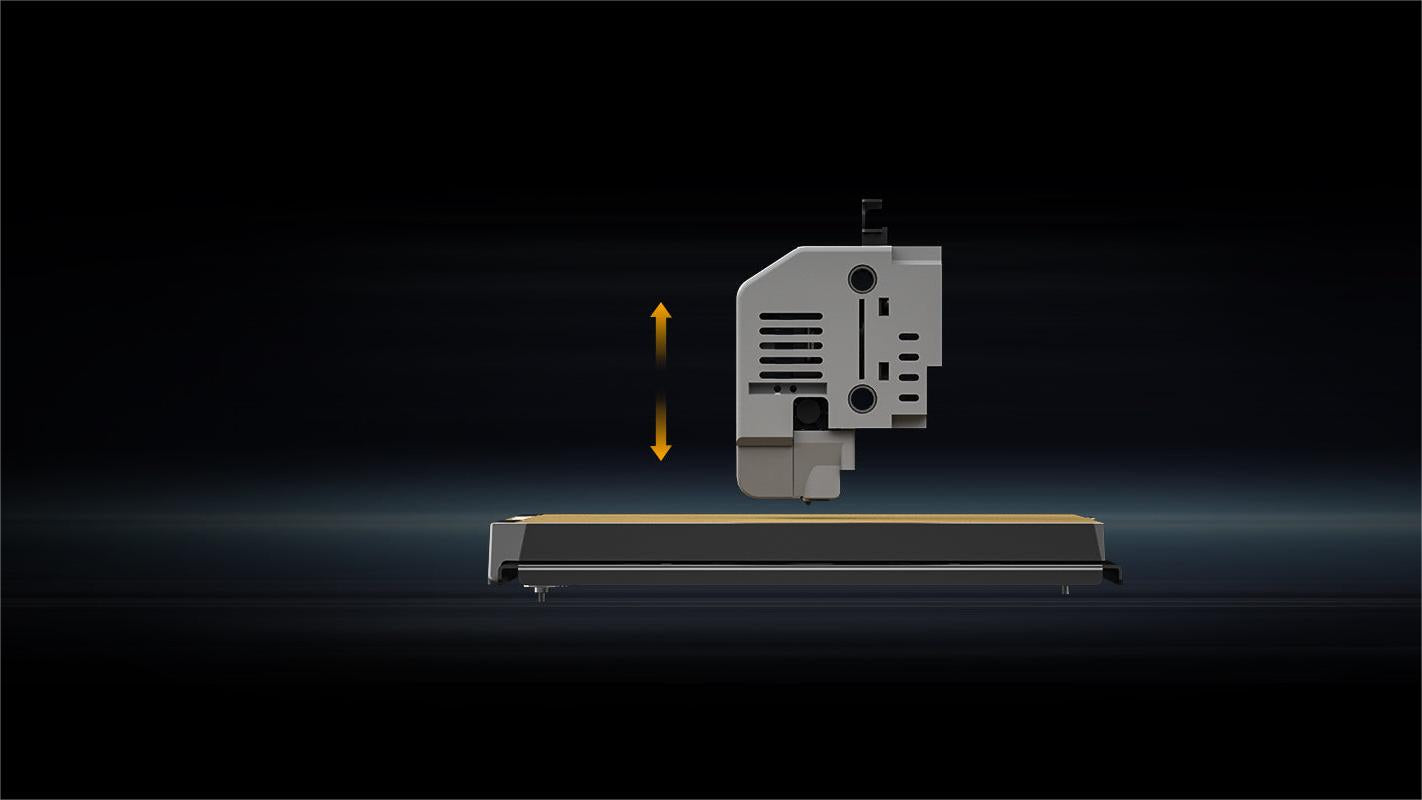
The first layer is the foundation of any successful 3D print. If this critical base isn't laid down correctly, the entire project can fall apart. As an experienced 3D printing enthusiast, you know how important getting that initial layer right can be for achieving print stability, adhesion, and quality. This comprehensive guide will walk you through the most common first layer problems and equip you with straightforward solutions to overcome them. Whether you're dealing with adhesion issues, warping, or unsightly surface defects, you'll learn how to prepare your print bed and optimize your settings for a perfect start every single time.
How to Prepare the Print Bed for Success
Before tackling first layer issues, it's crucial to ensure your print bed is properly prepared. This lays the groundwork for a successful print from the start.
1. Level the Print Bed
A perfectly level print bed is essential for good first layer adhesion. An uneven bed can cause stability and adhesion problems throughout the print. Fortunately, there are easy ways to level the bed.
Automatic leveling, available on many modern 3D printers, uses sensors to detect and compensate for irregularities. For manual setups, carefully adjusting the leveling screws can achieve the same result.
2. Clean the Print Bed
The cleanliness of the print bed also impacts first layer adhesion. Any dirt, oils, or debris can prevent the print from sticking properly, leading to lifting or defects. Thoroughly cleaning the build plate with isopropyl alcohol or a dedicated print bed cleaner before each print is vital.

Five Common 3D Printing First Layer Challenges
The first layer of 3D printing is the critical foundation that sets the stage for the entire project's success. Unfortunately, this initial step is also prone to a variety of frustrating issues that can derail your print if not addressed properly.
1. Rough First Layer
Why it happens:
Improper nozzle distance, incorrect extrusion flow, high printing speed, uneven print bed, and incorrect temperature settings can all contribute to a rough, uneven first layer.
How to fix it:
Adjust the nozzle distance to achieve the optimal gap between the nozzle and print bed. Slow down the first layer print speed to allow the filament to adhere properly. Thoroughly level the print bed using either automatic or manual leveling techniques. Set the appropriate bed and nozzle temperatures for your filament type. Clean the nozzle and print bed to remove any debris or contaminants.

2. First Layer Ripples
Why it happens:
Early cooling fan activation, an uneven print bed or nozzle too close, and over-extrusion of filament can cause ripples or waves across the first layer.
How to fix it:
Avoid exposing the first layer to air currents that can trigger premature cooling. Reduce the first layer print speed to allow the filament to spread evenly. Adjust the bed and nozzle settings to ensure a consistent, level first layer.
3. Elephant's Foot
Why it happens:
Excessive filament extrusion and high bed temperature can lead to the dreaded "elephant's foot" effect, where the first layer spreads outward and creates a bulge at the base of the print.
How to fix it:
Lower the print bed temperature to prevent over-expansion of the first layer. Adjust the extrusion flow rate to the optimal setting for your filament. Allow adequate cooling time between layers to prevent the first layer from spreading.
4. Warping
Why it happens:
Filament shrinkage, uneven bed temperature, high printing speed, and early cooling fan activation can all contribute to the edges of the first layer curling upward, causing warping.
How to fix it:
Use a heated print bed to maintain consistent temperature across the entire surface. Optimize your temperature and print speed settings to minimize thermal stress on the first layer. Apply adhesives or other agents to the build plate to help anchor the first layer and prevent curling.
5. Print Not Sticking to Bed
Why it happens:
A dirty build plate, incorrect temperature settings, and high printing speed can prevent the first layer from properly adhering to the print bed.
How to fix it:
Thoroughly clean the build plate using isopropyl alcohol or a dedicated print bed cleaner. Use appropriate adhesives, such as hairspray, glue sticks, or specialized print bed coatings, to enhance first layer adhesion. Adjust the bed and nozzle temperatures, as well as the first layer print speed, to promote optimal bonding between the filament and the build plate.
Related Guide: Why Is My 3D Print Not Sticking to Bed?
How to Optimize Your 3D Printer for a Perfect First Layer
Achieving a perfect first layer is crucial for successful 3D printing. By fine-tuning your printer settings and considering the specific properties of your filament, you can ensure a solid foundation for your prints.

1. Perfect First Layer Settings
Start by adjusting your print and bed temperatures slightly higher to enhance adhesion. Increasing the first layer line width can also provide more surface area for the filament to grip. To account for leveling imperfections, experiment with a slightly thicker first layer height. Additionally, slowing down the initial print speed allows the filament to spread and adhere properly.
Beyond these core settings, using first layer helpers like rafts, skirts, and brims can further improve adhesion and stability. These features act as scaffolding, providing extra anchoring points for the critical first layer.
2. Master Material-Specific Techniques
The type of filament you use can significantly impact first layer performance. Some materials, like TPE and PETG, have a tendency to over-adhere, leading to issues like the "elephant's foot" effect. In these cases, applying release agents like hairspray, painter's tape, or glue sticks can help the first layer release cleanly.
Conversely, other filaments, such as ABS and ASA, may require extra measures to ensure sufficient adhesion. Coating the build plate with an adhesive or using a heated bed can make a big difference in keeping those tricky first layers firmly in place. It's important to note that the quality and age of your filament can also affect print performance. To learn more about filament longevity and storage, check out our guide on How Long Does 3D Printer Filament Last.
Conquer the First Layer, Elevate Your 3D Prints
With the insights and techniques covered in this comprehensive guide, you now possess the knowledge to tackle the common challenges that can plague the critical first layer of your 3D prints. By meticulously preparing your print bed, fine-tuning your settings, and adapting your approach to the unique properties of your chosen filaments, you'll be able to consistently establish a solid foundation for successful, high-quality prints. Harness this expertise, and master the art of flawless 3D printing starts. Start putting these strategies into practice today to elevate your 3D printing prowess.
FAQs about 3D Printing First Layer Problems
1. Why is my first layer failing?
There are several common reasons why the first layer of a 3D print might fail to adhere properly. One of the most frequent issues is an improper nozzle distance - if the gap between the nozzle and print bed is not optimal, it can prevent good adhesion. An unleveled print bed can also cause the first layer to not stick evenly across the surface. Additionally, incorrect temperature settings, whether for the print bed or the nozzle, may not be suited for your filament type, leading to adhesion problems. Finally, a dirty print bed with debris, oils, or other contaminants can interfere with the first layer's ability to bond to the build plate. Printing the first layer too quickly can also prevent the filament from having enough time to properly adhere.
2. How do you fix a gap in the first layer?
If you notice a gap or separation in your first layer, the most likely culprit is an unleveled print bed. To remedy this, start by using your 3D printer's auto-leveling function, if available, as this can detect and compensate for any unevenness in the build plate. If your printer doesn't have auto-leveling, you'll need to manually adjust the leveling screws, lowering the area with the gap until the first layer is laid down evenly. You can also try increasing the first layer height slightly to help bridge any minor leveling imperfections. Finally, ensure the nozzle distance is set correctly, with the optimal gap between the nozzle and bed.
3. Why is my 3D printer not extruding the first layer?
There are a few possible reasons why your 3D printer may not be extruding the first layer properly. One common issue is a clogged or blocked nozzle, which can prevent the filament from flowing freely. Incorrect extrusion settings, such as an improper extrusion multiplier or flow rate, can also cause problems with the first layer's deposition. Excessive retraction can sometimes cause the filament to not start extruding correctly at the beginning of the print. Finally, if the first layer is not adequately adhering to the build plate, the extruder may be unable to effectively lay down the material.
4. Why is the first layer of my 3D print curling up?
Warping, where the edges of the first layer curl upwards, is typically caused by a few key factors. Filament shrinkage, especially with materials like ABS, can lead to curling as the plastic cools and contracts. An uneven bed temperature can also contribute to this issue, as the edges of the build plate may not be heated evenly. Printing the first layer at high speeds can introduce thermal stresses that cause warping, as can premature cooling from air currents or an early-activated cooling fan. To combat this problem, use a heated print bed, optimize your temperature and speed settings, and consider applying adhesives to the build plate.
5. Why is my first layer so rough 3D printing?
A rough, uneven first layer can be the result of several different issues. Improper nozzle distance, where the gap between the nozzle and print bed is not optimal, can prevent the filament from being laid down smoothly. Incorrect extrusion flow, where the material is not extruding evenly, can also contribute to a rough surface. Printing the first layer at high speeds may not allow the filament enough time to spread and adhere properly. An unlevel print bed will cause the first layer to be laid down unevenly as well. Finally, temperature problems, whether too high or too low for the specific filament, can impact the first layer's quality. Adjusting the nozzle height, slowing down the first layer speed, leveling the print bed, and fine-tuning the temperature settings can all help smooth out a rough initial layer.


 Q2
Q2
 Plus 4
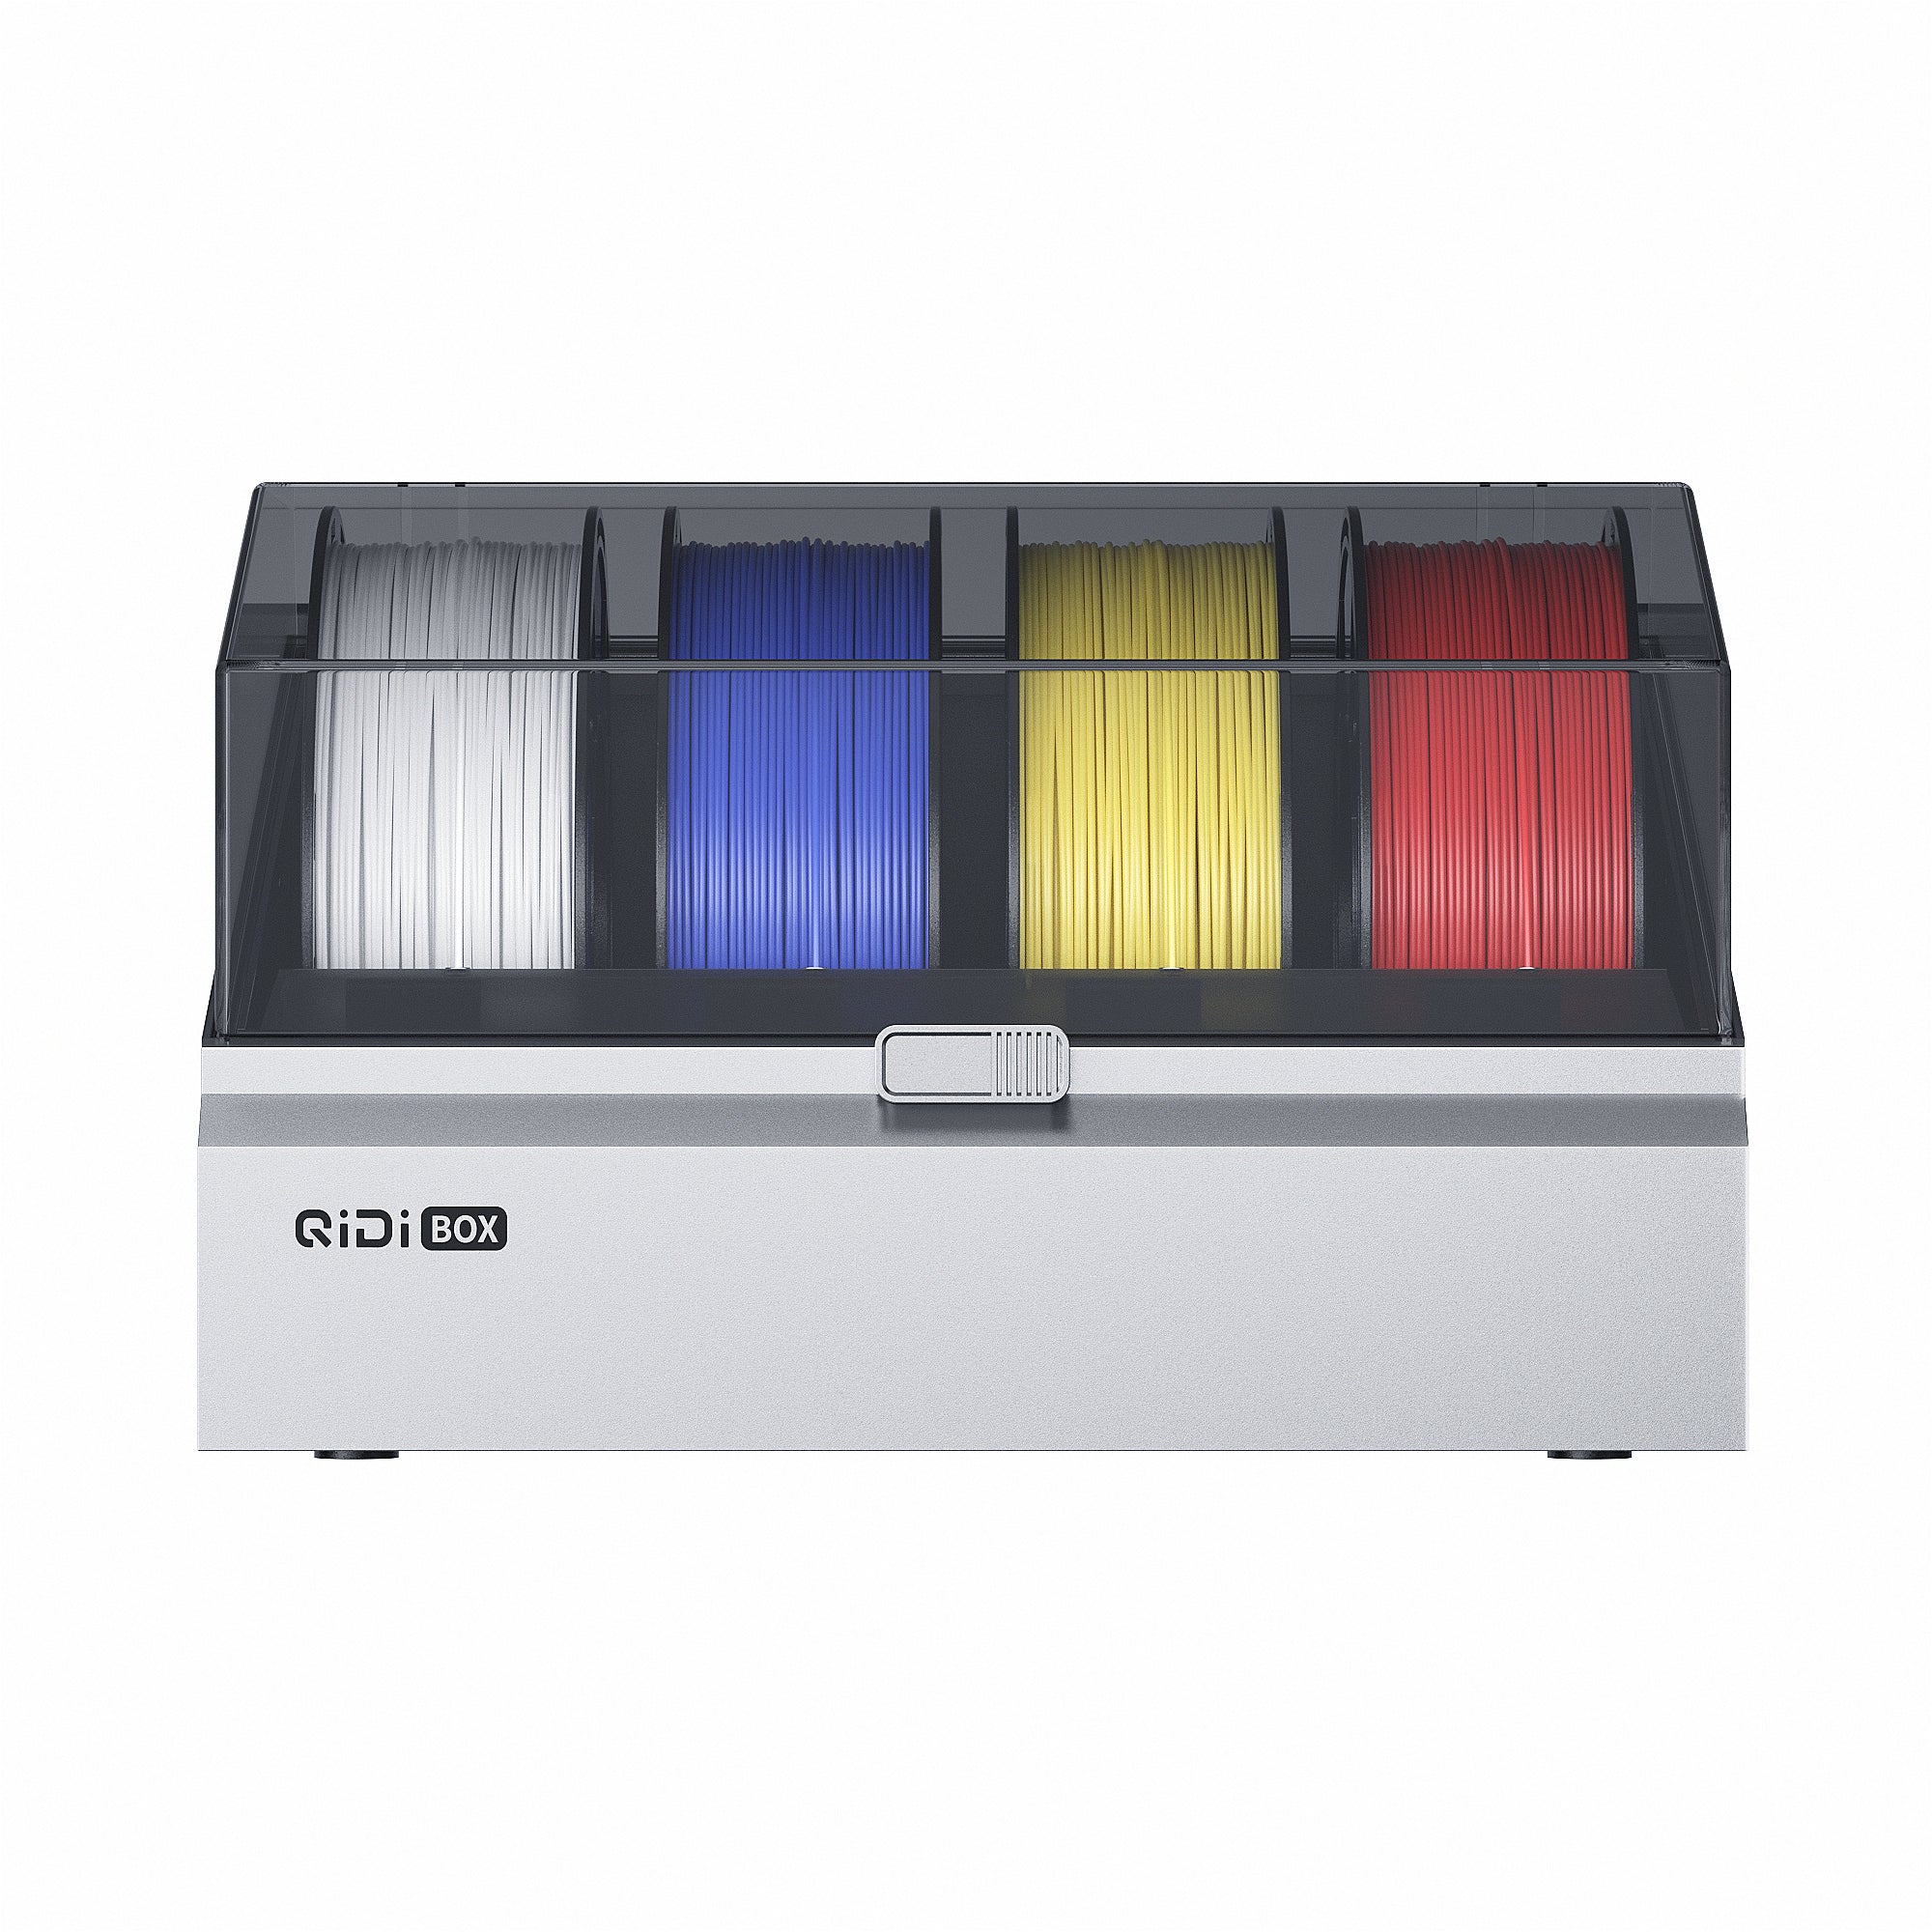 QIDI Box
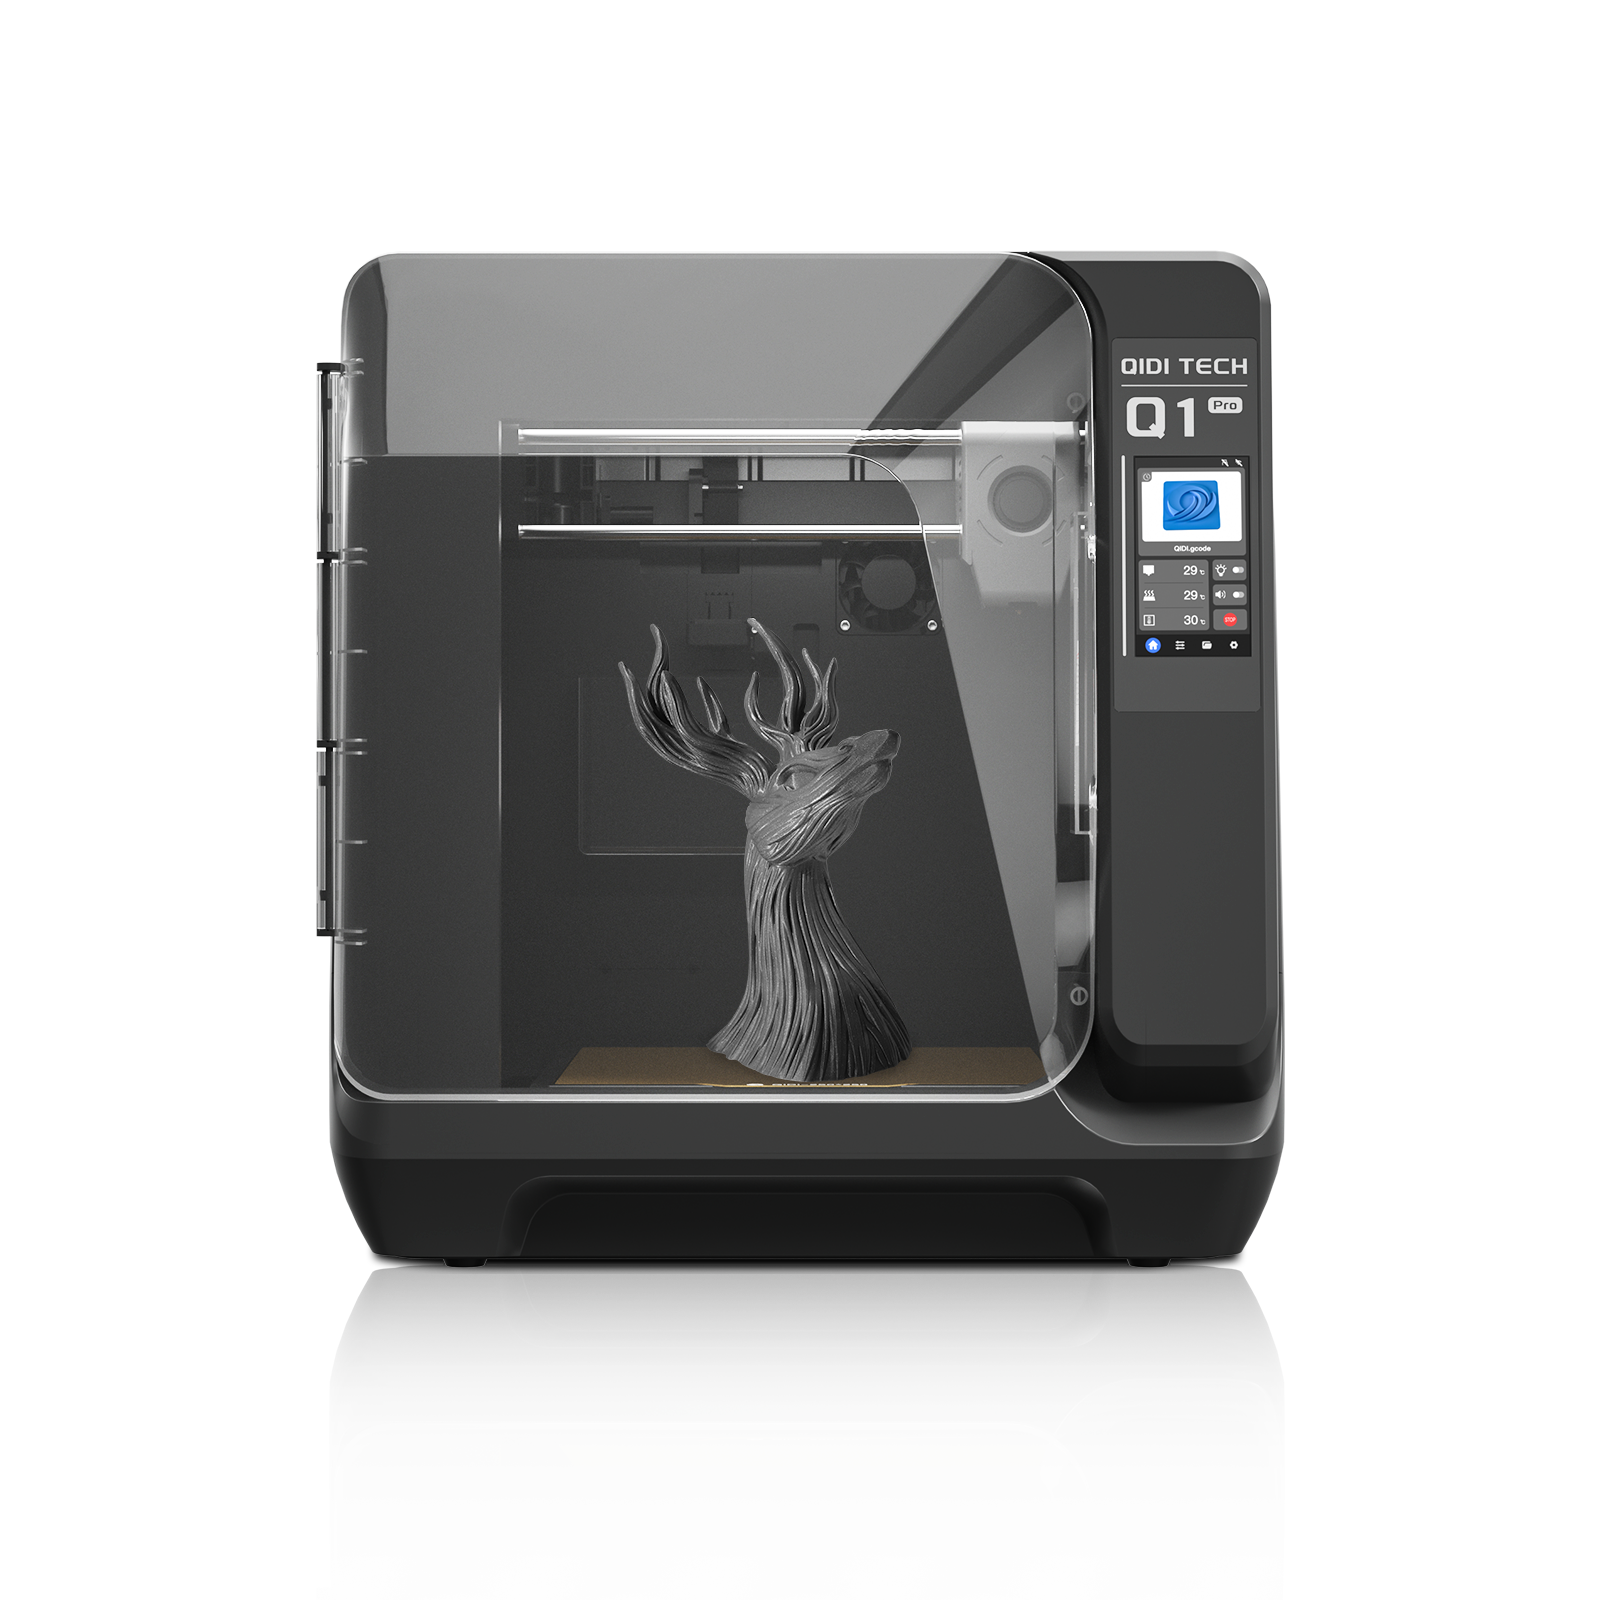 Q1 Pro
 X-Max 3
