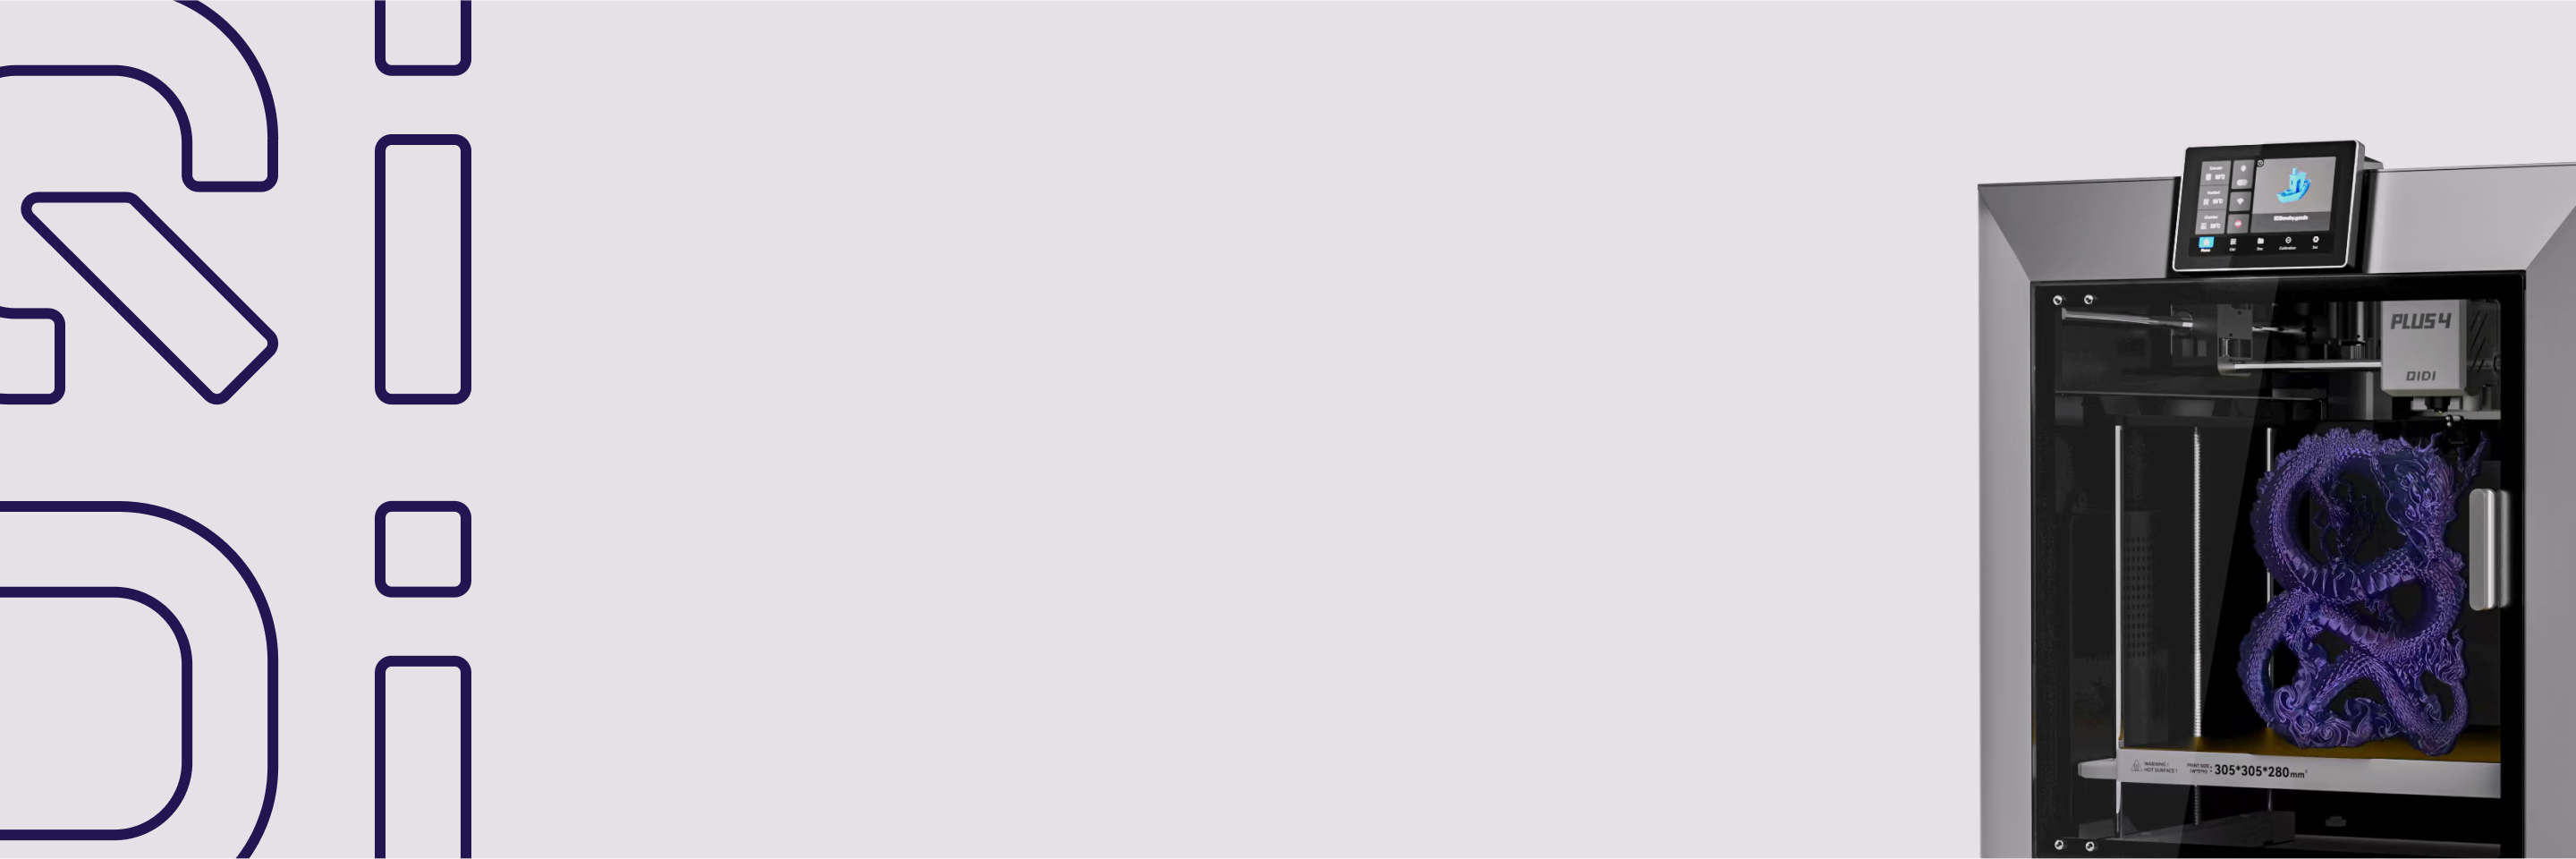
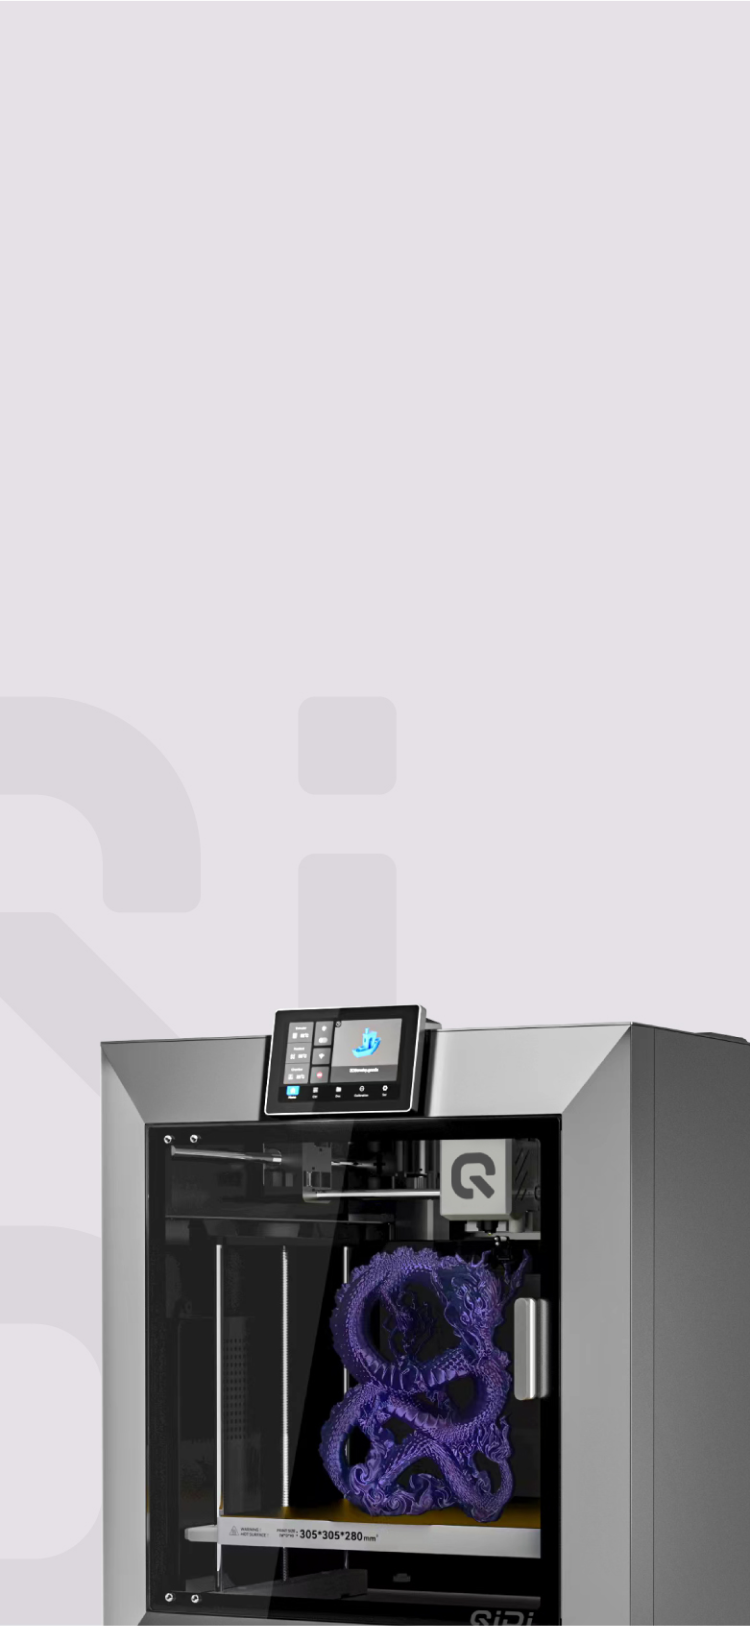
Q2
Q2
 Plus 4
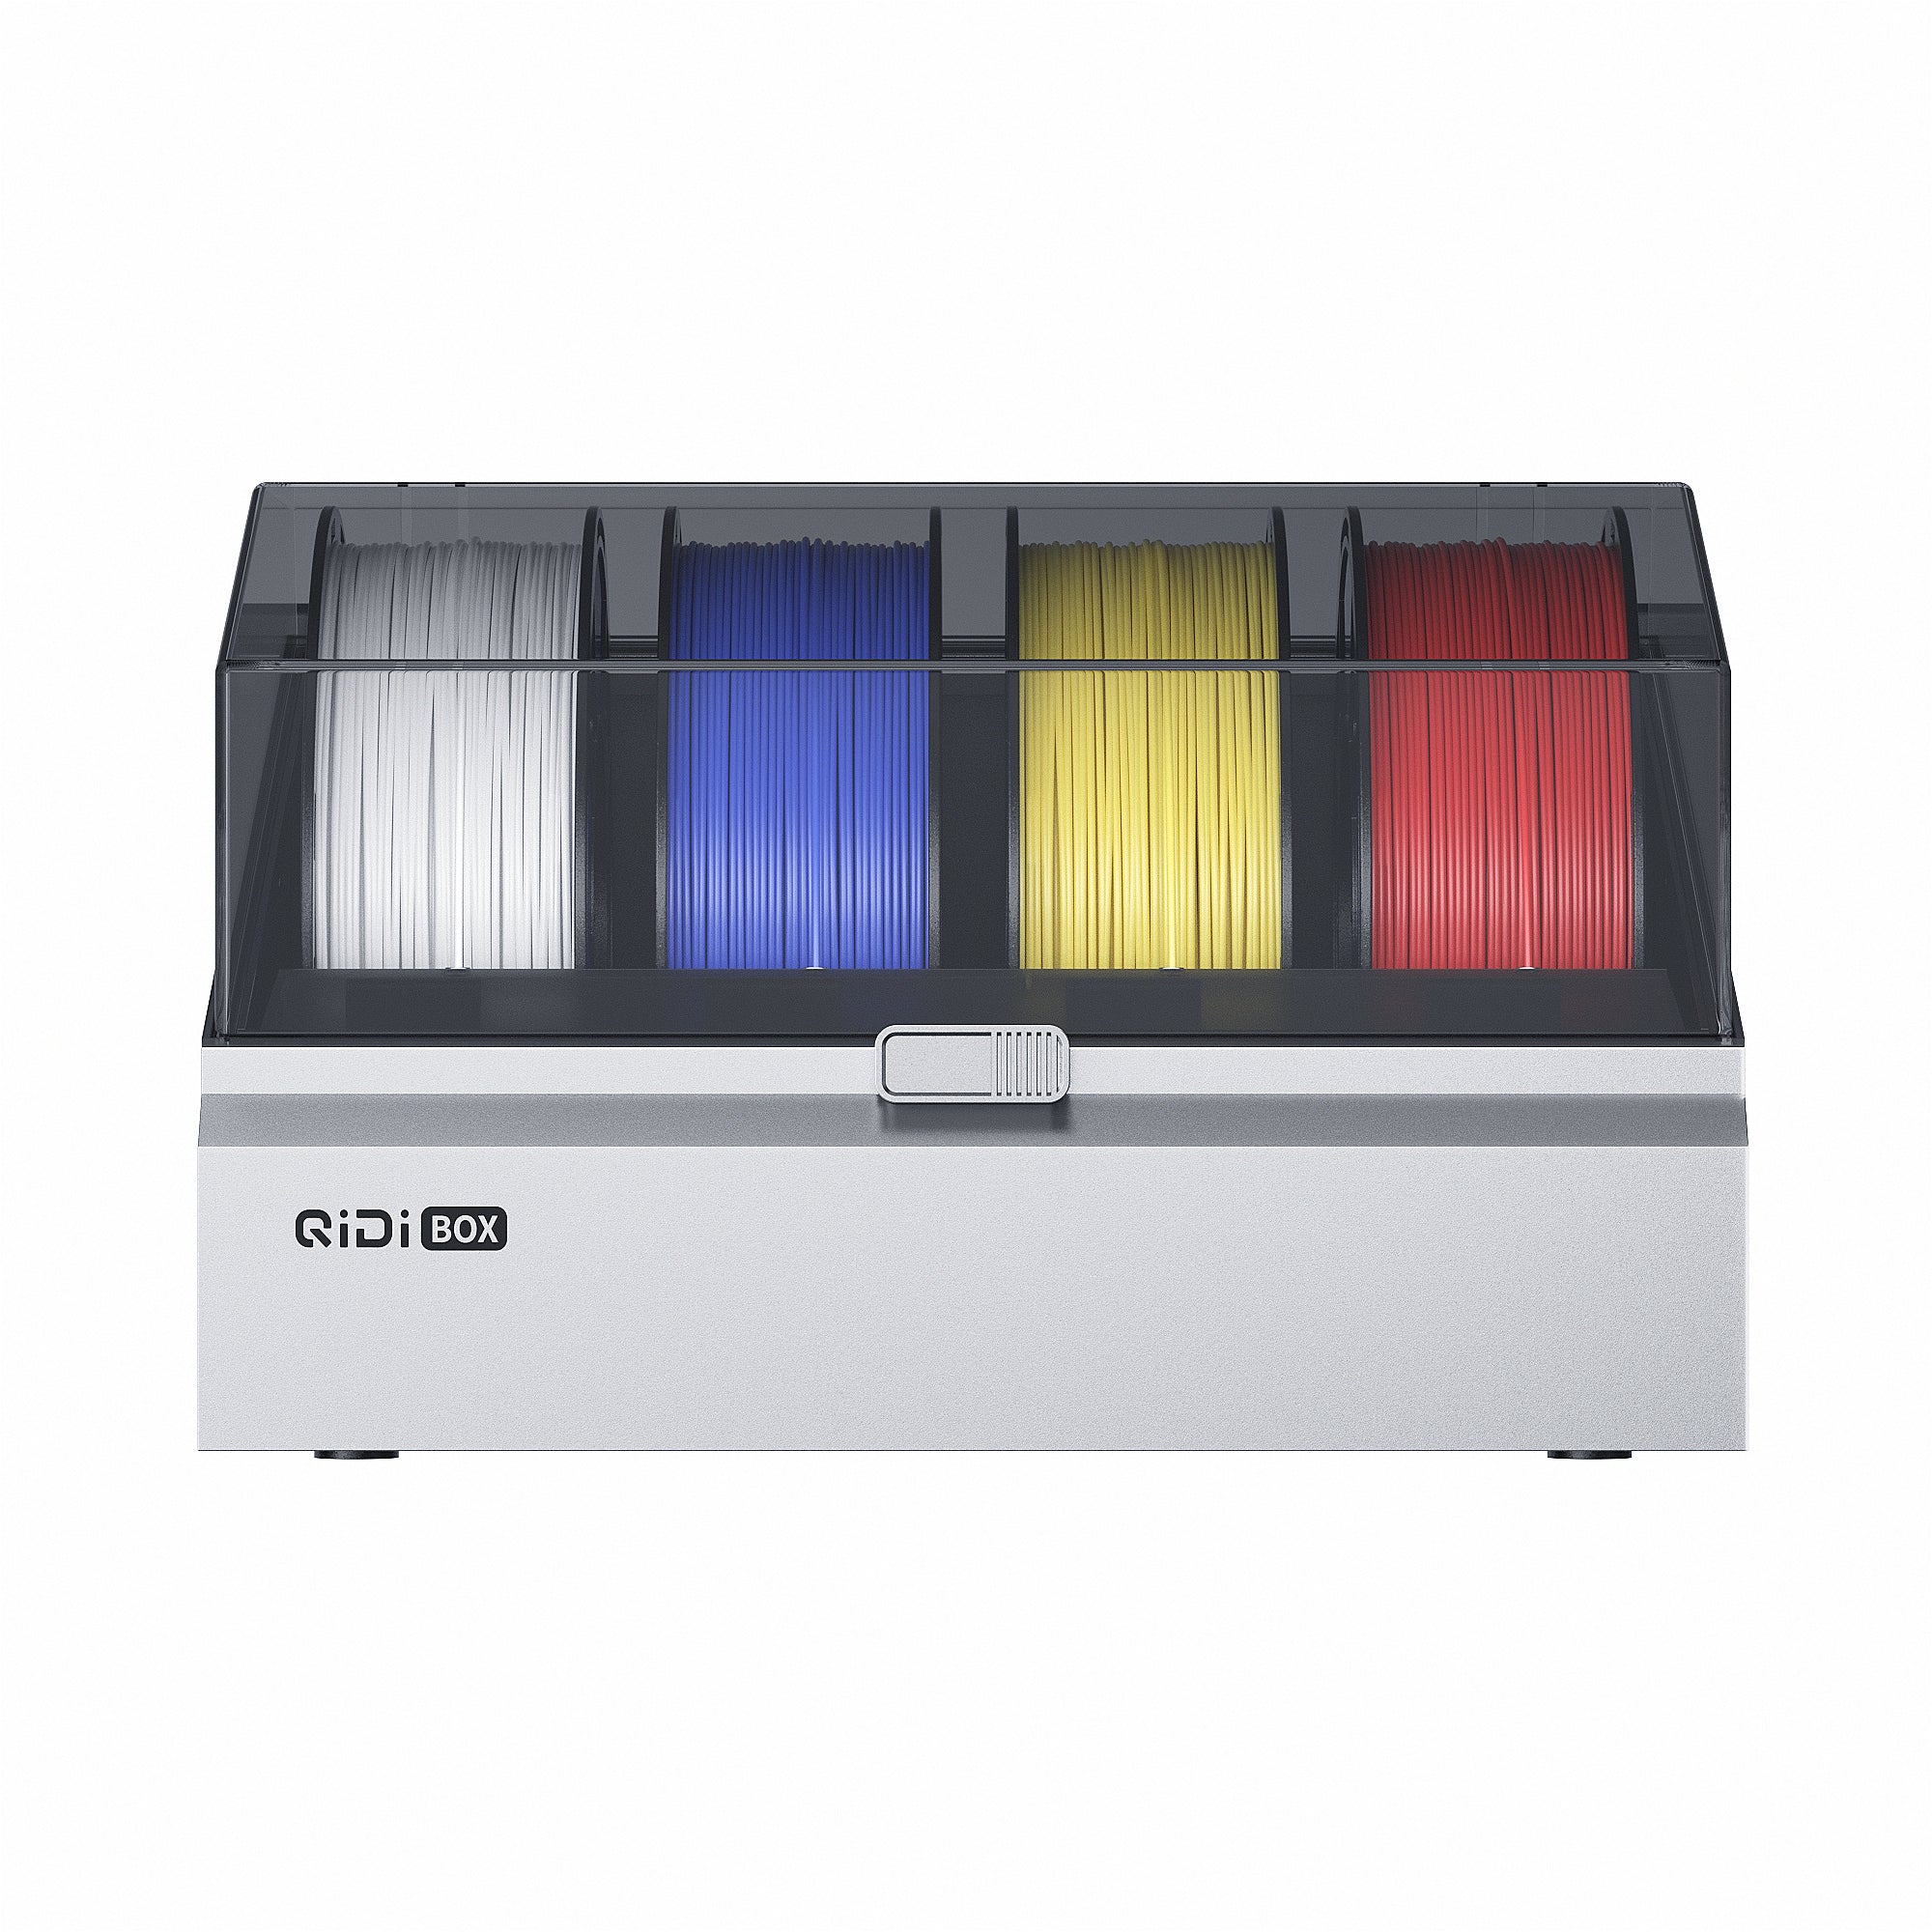 QIDI Box
 Q1 Pro
 X-Max 3


Tutorial for Multi-Color Printing: Connection and Use of QIDI BOX
Stop printing in just one color. Transform your 3D projects with our complete guide to setting up, slicing, and printing multi-colored masterpieces.
Want to easily unlock the color printing capability of QIDI Q2? This tutorial will demonstrate step by step how to collaborate with the QIDI BOX multi-color unit to create your first multi-color work, from slicing to printing.
Operation Guide
1. Device Connection
Open QIDI Studio, the official slicing software of QIDI. Navigate to the "Device" interface and click the green "+" icon to add a device. Select the printer preset "Q2", enter the machine name and IP address, and complete the connection.

2. Filaments Preparation
According to your printing design, place different filaments into the slots of QIDI BOX.
- If you are using the new version of QIDI filaments, the box will automatically recognize the type and color of the filaments via the built-in RFID chip, no manual setting required.
- If you are using other filaments, enter the filaments settings interface on the screen and manually select the filament category and color.


For filament information that needs manual setting, you can also modify it in the "Filament Control" section on the QIDI Studio device page.

3. Information Synchronization and Model Processing
Scenario 1: Existing Multi-Color Model File
Import the multi-color model file; the filament information included in the project will be directly displayed in the "Filaments" section.

Click "Synchronize Information" in the printer section, then select your printer to obtain the corresponding box information. There are two ways to synchronize filament information, and "Map" is usually used by default:
- Map: Correspond the project filaments with the filaments in the box one by one based on the type and color.
- Overwrite: Use the filaments in the box to replace the project filament list in sequence; unused filaments in the box will also be automatically added to the end of the list.

If the type of project filaments does not match the filaments of the corresponding color in the box, the matching will fail. You need to return to the "Filaments" section to modify the filament type.

Click on a filament to modify its type. If the required type is not available, select "Add Filaments".


After modification, re-perform the matching, and click to synchronize now once confirmed correct.

After successful synchronization, a blue checkmark (✔) will appear in the corresponding filament slot, indicating that the printer and the box are ready.

Scenario 2: Coloring a Single-Color Model
Open the model file, click the "+" icon in the "Filaments" settings section on the left to add filaments, and select the type and color of the filaments. You can also click the coloring tool at the top to add or remove filaments.


After adding, match the project filaments with the filament information in the box.

Next, you can use the coloring tool, select the color and an appropriate tool type to color the model.


4. Model Slicing and Transfer for Printing
Note: During multi-color printing, the wipe tower will be enabled by default. It cleans the nozzle every time the color is changed, effectively preventing color cross-contamination.

Click "Slice Plate" to enter the preview mode, where you can view the filament usage, number of color changes, and estimated printing time. Slide the scroll bar on the right to check whether the color change of each layer is correct.

Click "Print Plate", confirm that the box is turned on, and then send the file for printing.

Conclusion
By following the above steps, you have mastered the entire process of printing multi-color works using QIDI Q2 and QIDI BOX. Start your 3D creation journey now!