プラス4
プラス4


 テック
テック 

How to add fuzzy skin to a model?

In the process of 3D printing, Fuzzy Skin is a special model skin treatment mode that adds small random fluctuations to the outer wall of the model to give the printed object a strong texture. The setting of fuzzy skin can not only simulate special materials, but also increase friction for some tool models, and cover printed patterns and seams, making the model more beautiful.
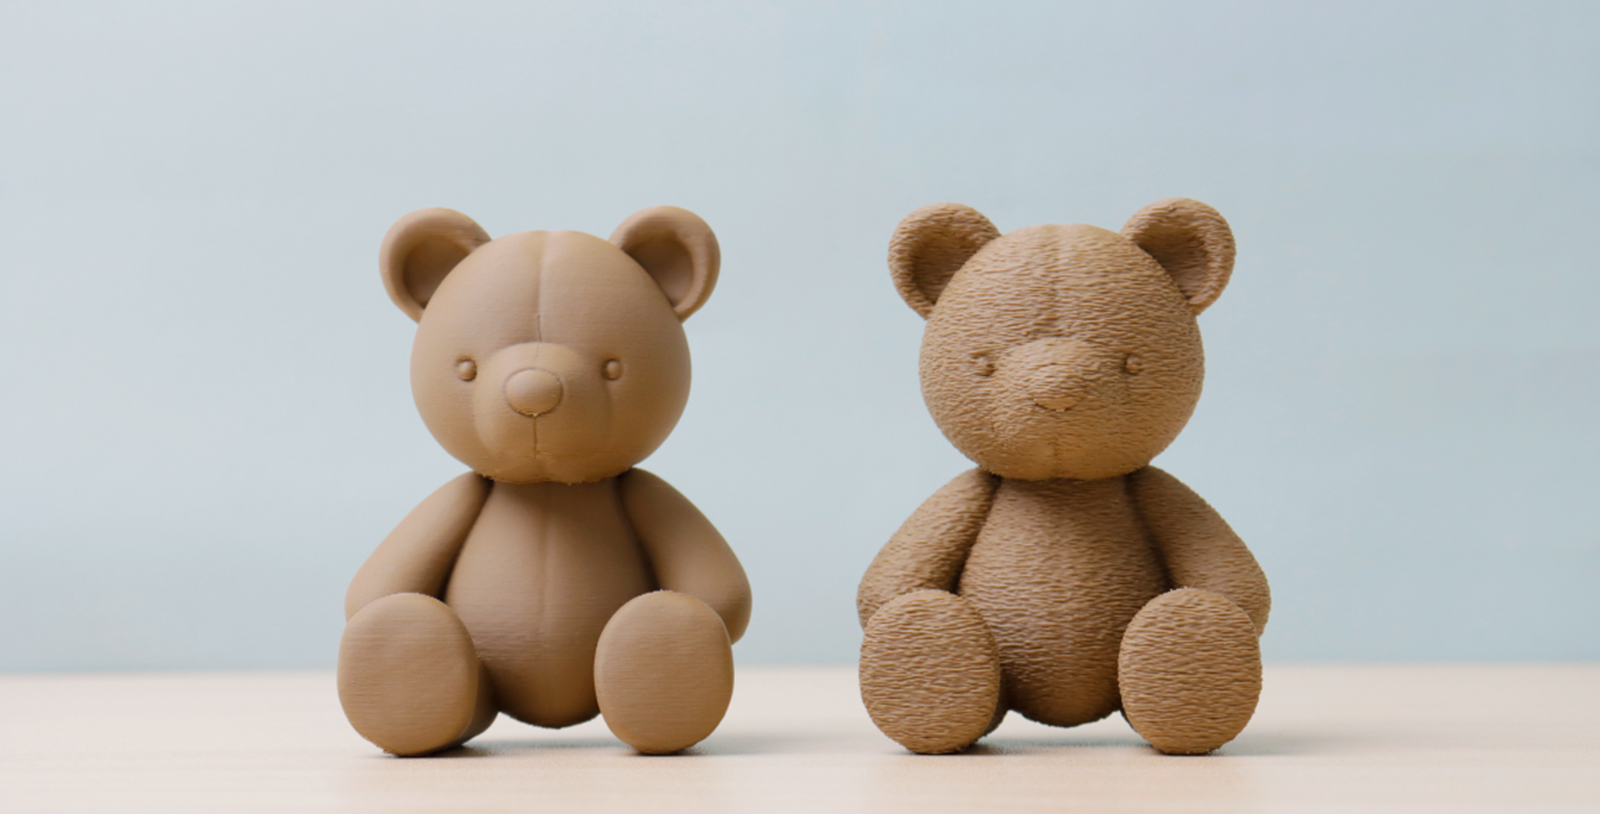
Schematic diagram
Non fuzzy skin model (left) and added fuzzy skin model (right):

Introduction-Fuzzy Skin
1.In the special mode column of other sections on the left, you can view the setting of Fuzzy Skin. As shown in the following figure, no fuzzy skin has been set for the teddy bear model by default.

2. Click on the slice to see that the skin of the teddy bear model is smooth.

3. Click on the fuzzy skin, select different types according to the model needs, and then set the point distance and thickness of the fuzzy skin. Here, select "contour" based on the characteristics of the bear model.


4. Click on the slice to see that the model has generated a fuzzy skin.

Introduction-Fuzzy + Smooth Skin
In some cases, you may not need to generate a fuzzy skin for the entire model, but rather maintain smoothness in certain areas. At this point, you can use the modifier tool.
1.After repeating the above operation of adding a fuzzy skin, right-click on the model position and select "Add Modifier", and then select the modifier shape. For example, to maintain the smoothness of the position of the bear's nose, choose the spherical modifier.
 2. Adjust the size and position of the modifier.

3. In the operation interface of the modifier object, set the fuzz skin to "none".
 4. Click on the slice to discover that the nose of the teddy bear model has a regular straight line, while other areas have generated fuzzy skins with more complex lines.
Conclusion
By setting the fuzzy skin and adjusting relevant parameters, you can create models with unique tactile and visual effects. If you have any further questions or ideas about 3D printing, please feel free to leave a comment!