Assembly failed? An article teaches you how to adjust the assembly clearance.

Under the influence of various factors such as 3D printers,, materials, and processes, the size of the 3D printed model may differ from the original design, and errors may easily occur during assembly. When encountering such problems, it is necessary to fine-tune the model size before printing to achieve a better fit between the parts.
QIDI Studio provides a convenient XY size compensation setting option, allowing users to freely adjust the size compensation value according to different printing models and needs. This tutorial will give you a detailed introduction on how to adjust the relevant parameters in QIDI Studio, helping you solve assembly problems!
1.Schematic diagram
Before adjusting the clearance

After adjusting the clearance

The model effect shown in the figure above is achieved by adjusting the XY hole and contour compensation function. If you want to achieve a similar effect, please follow the steps below.
2.Steps
When solving simple model assembly problems, you can select one of the parts and adjust a value in the XY hole or contour compensation.

2.1 Adjust the XY hole compensation of part A separately.
Positive values represent enlarged holes, and negative values represent reduced holes. In actual printing, problems such as different shrinkage rates of consumables will cause the actual printed hole size to be slightly smaller than the model drawing size. Therefore, in general, the XY hole compensation can be set to +0.2mm.
The following are the slices of the XY hole without compensation and with compensation of +0.2mm. After compensation, the contour remains unchanged, but the hole becomes larger.


2.2 Adjust the XY contour compensation of part B separately.
Positive values represent expansion, and negative values represent reduction. Simply put, it is to adjust the size of the model on the XY plane. The following are the slicing situations of no compensation and compensation of -0.2mm for the XY contour. It can be seen that the contour has shrunk.


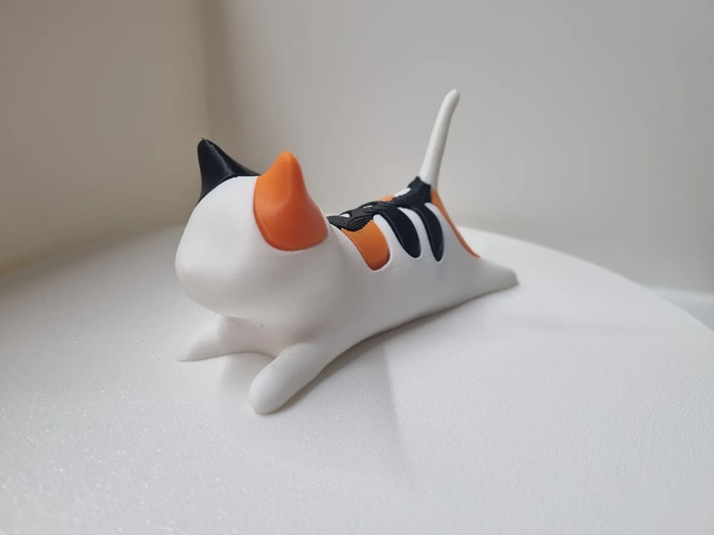
2.3 In addition, for some relatively complex models, you can adjust the XY hole and contour compensation values of the model at the same time.
For example, if the kitten model shown in the figure below encounters the problem of insufficient clearance during assembly, you can make corresponding adjustments in QIDI Studio:


After completing the two settings, click Slice and you will find that the size of the model has changed slightly compared to the original. The adjusted kitten model can be assembled smoothly.

3.Notes
3.1 When adjusting the size of the model in the slicing software, keep the model in the same orientation as when it is printed. The same part of the same model may have slightly different sizes when printed i different orientations.
3.2 Models of different sizes require different assembly clearances. When printing the same model in equal proportions, the size compensation should also be adjusted in QIDI Studio to ensure smooth assembly.
4.Conclusion
Through this tutorial, you have learned how to adjust the size of the model in QIDI Studio to improve printing accuracy and avoid assembly problems. Flexible use of these tools can help you achieve a smoother and more accurate 3D printing effect. Welcome to join the QIDI community and share your printing experience and works!